Deploying an application
In this exercise, you'll deploy a simple Node.js Express application - "Example Health". Example Health is a simple UI for a patient health records system. We'll use this example to demonstrate key OpenShift features throughout this workshop. You can find the sample application GitHub repository here: https://github.com/svennam92/node-s2i-openshift
Deploy Example Health
Launch the
OpenShift web console.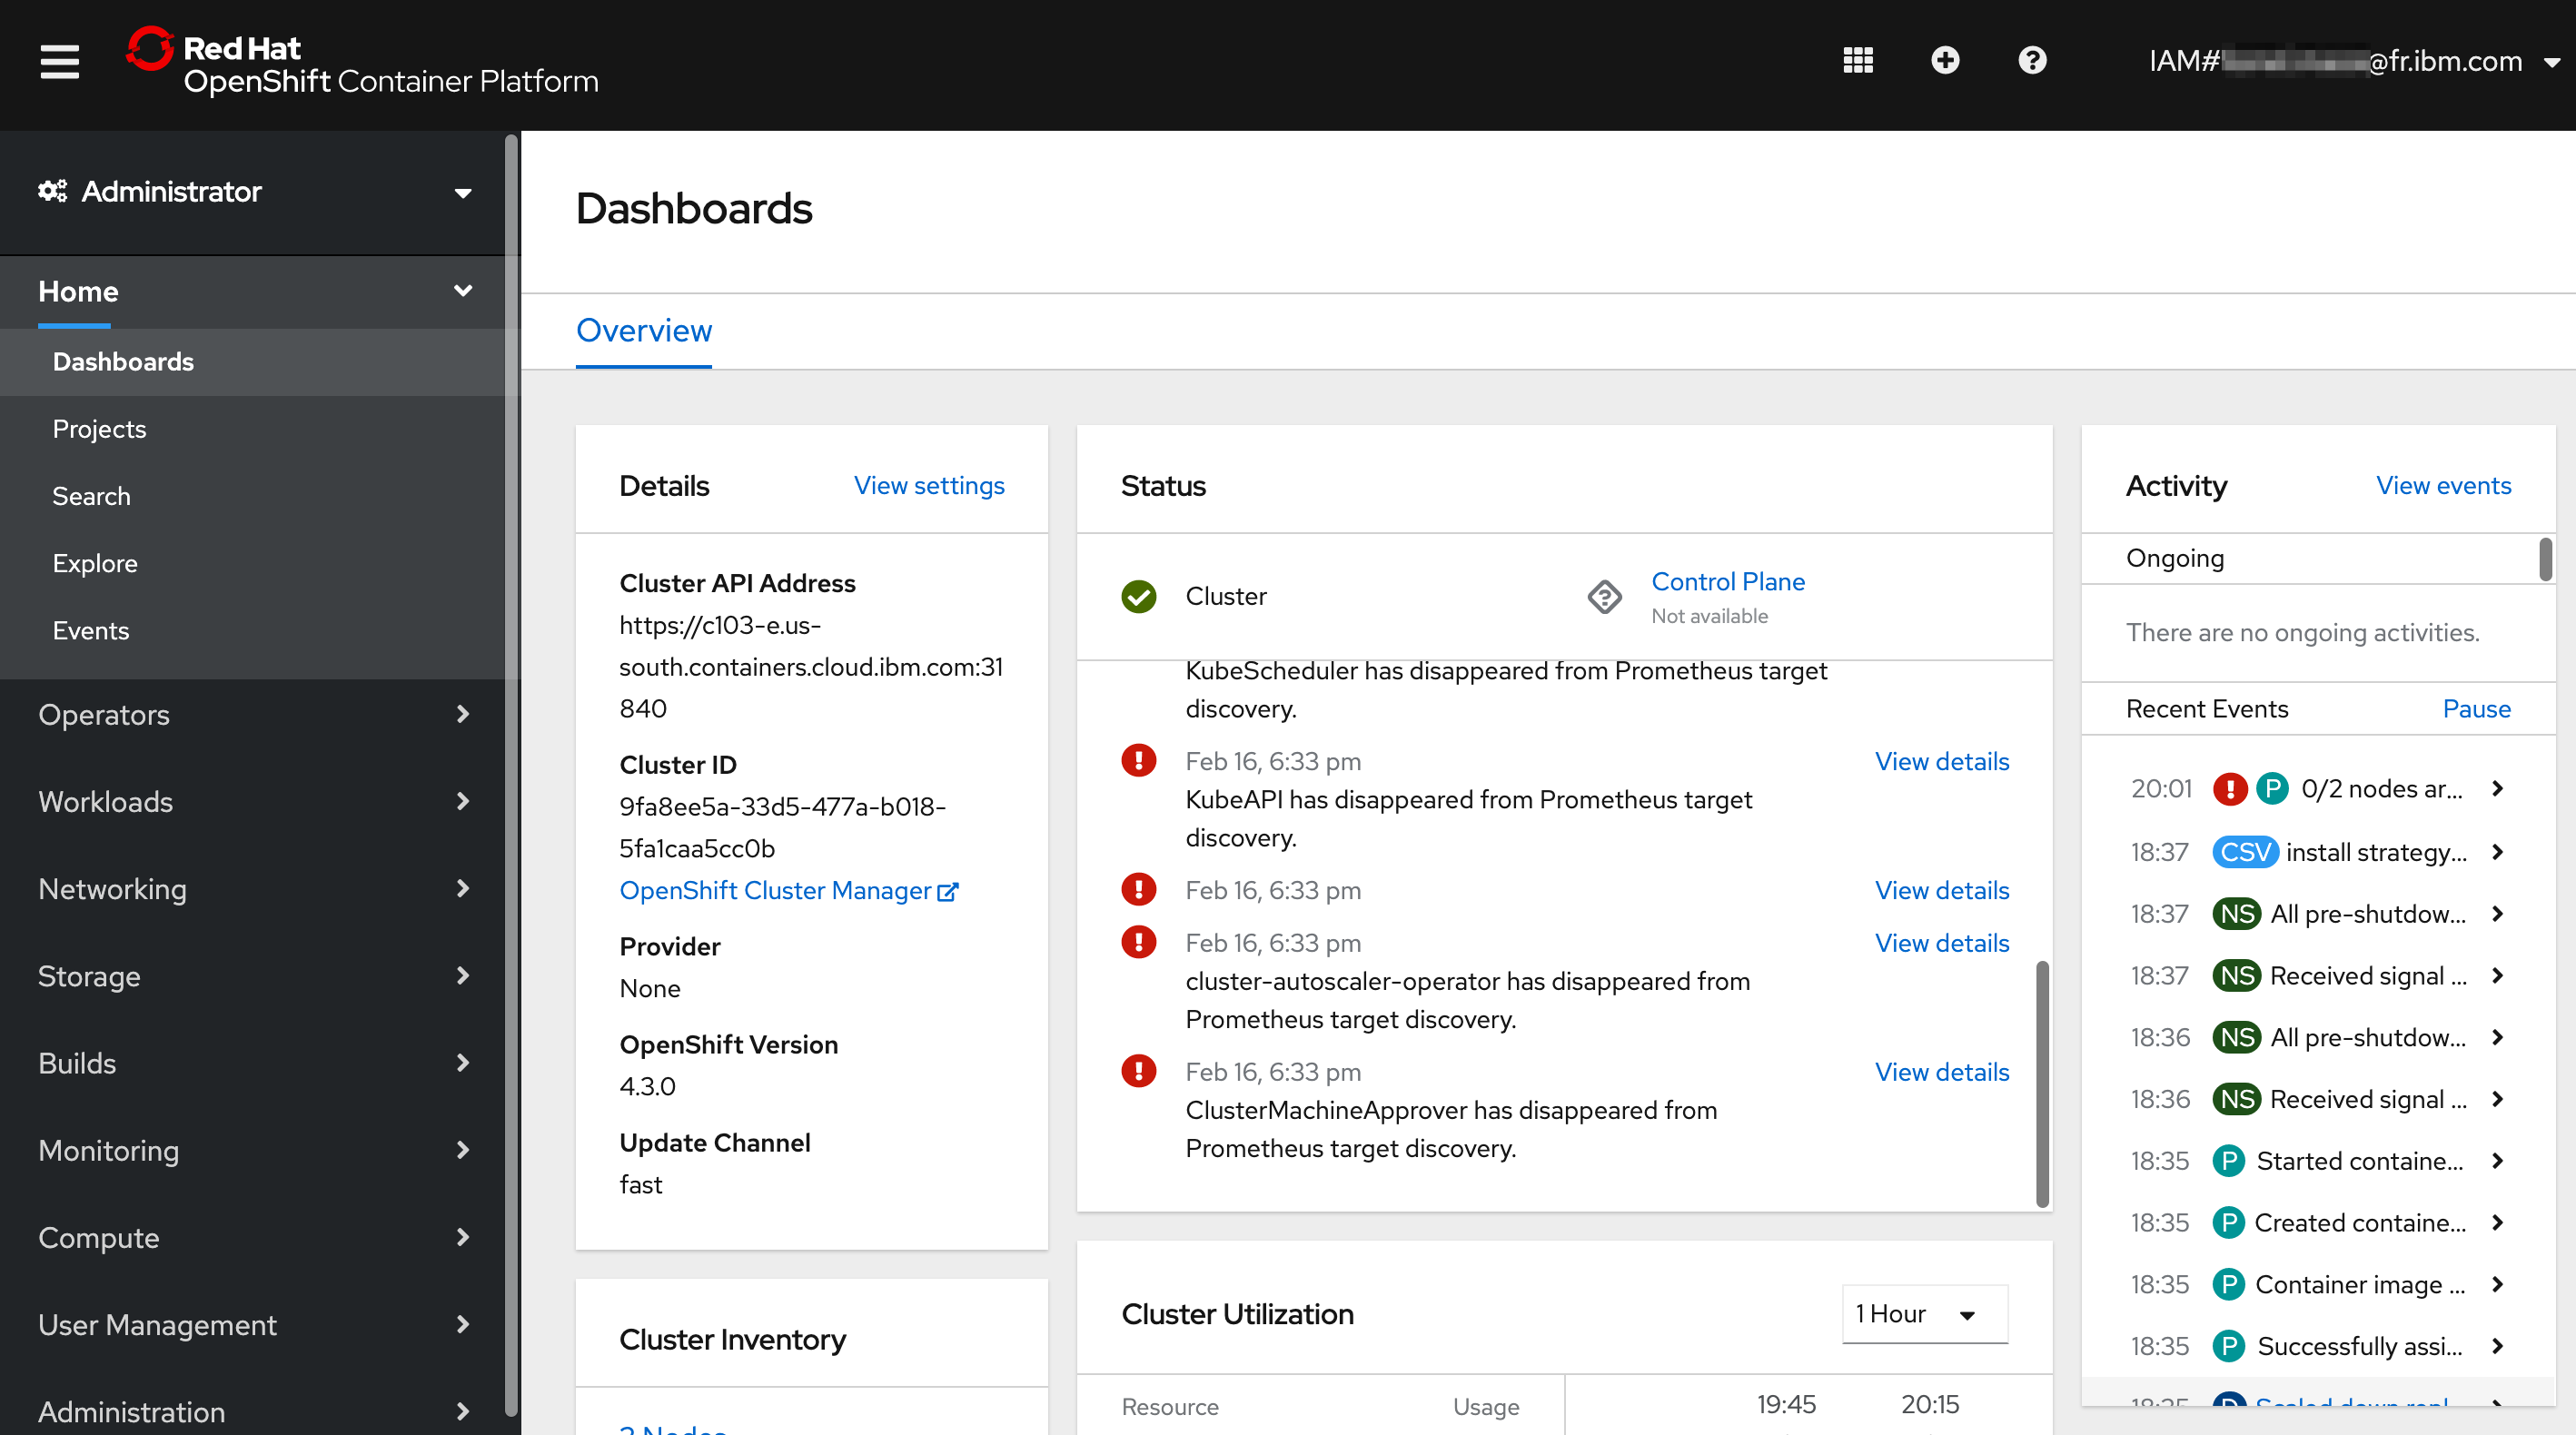
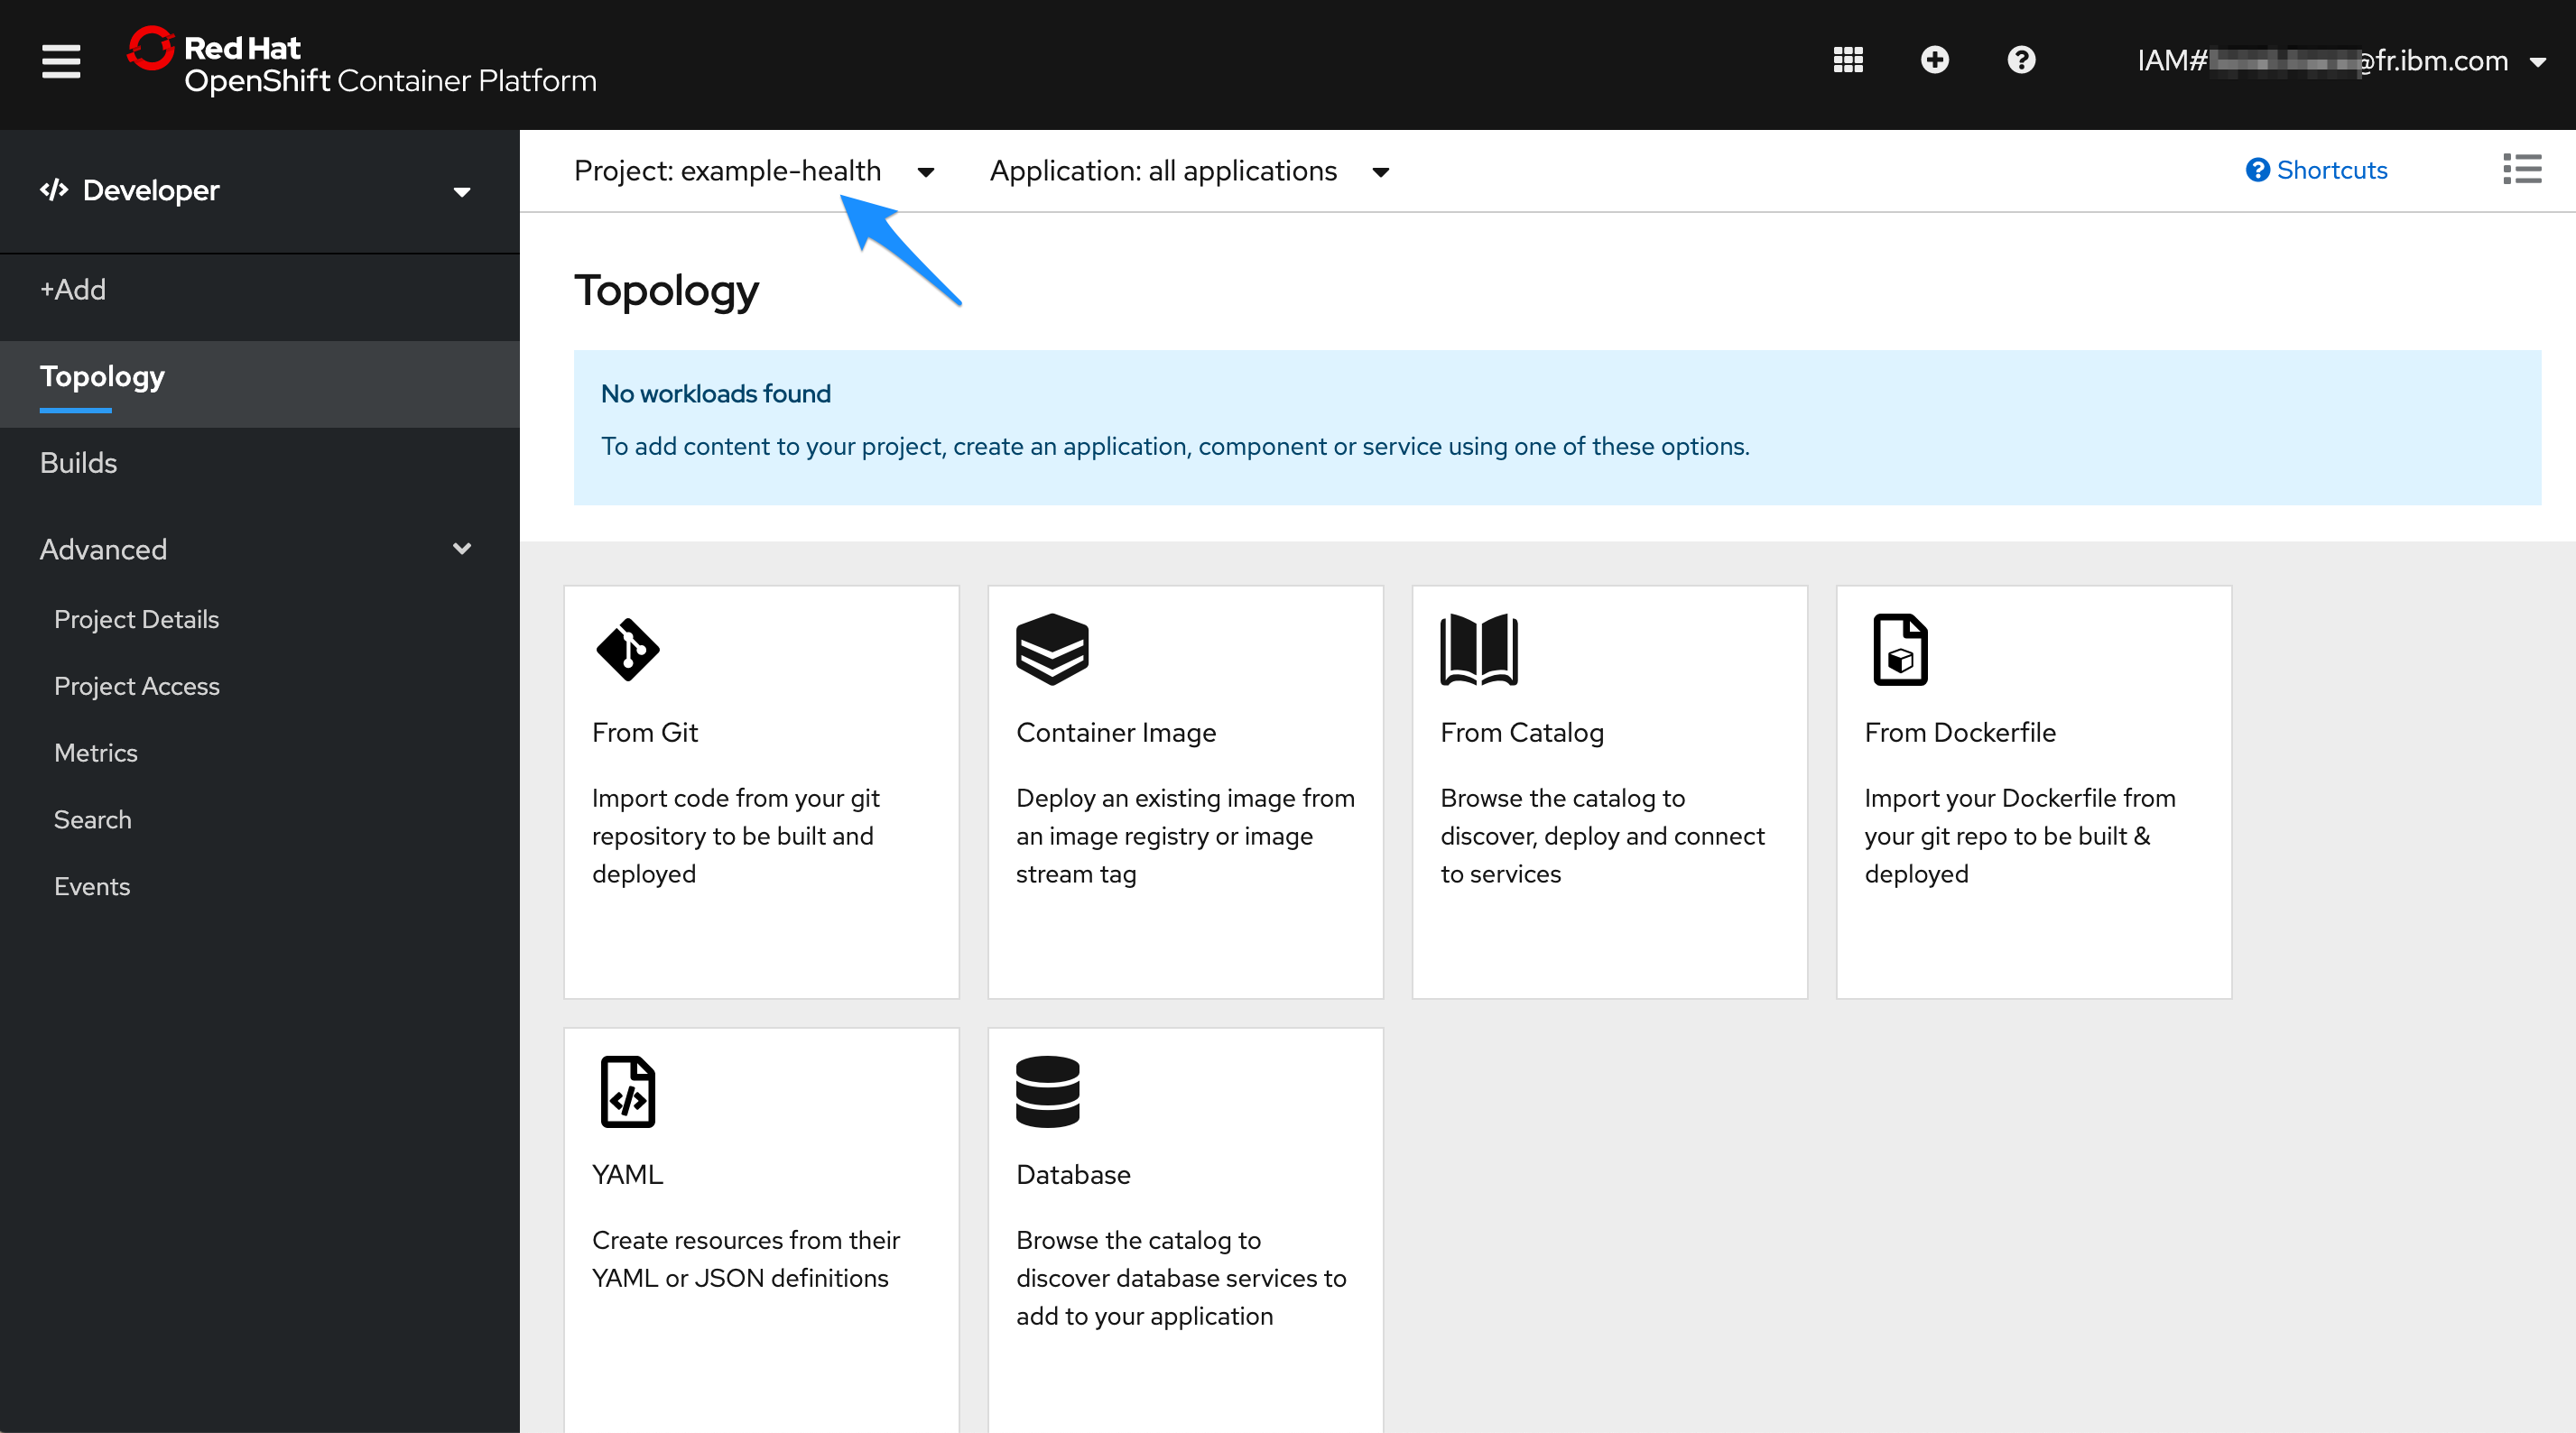
Select the Projects view to display all the projects.
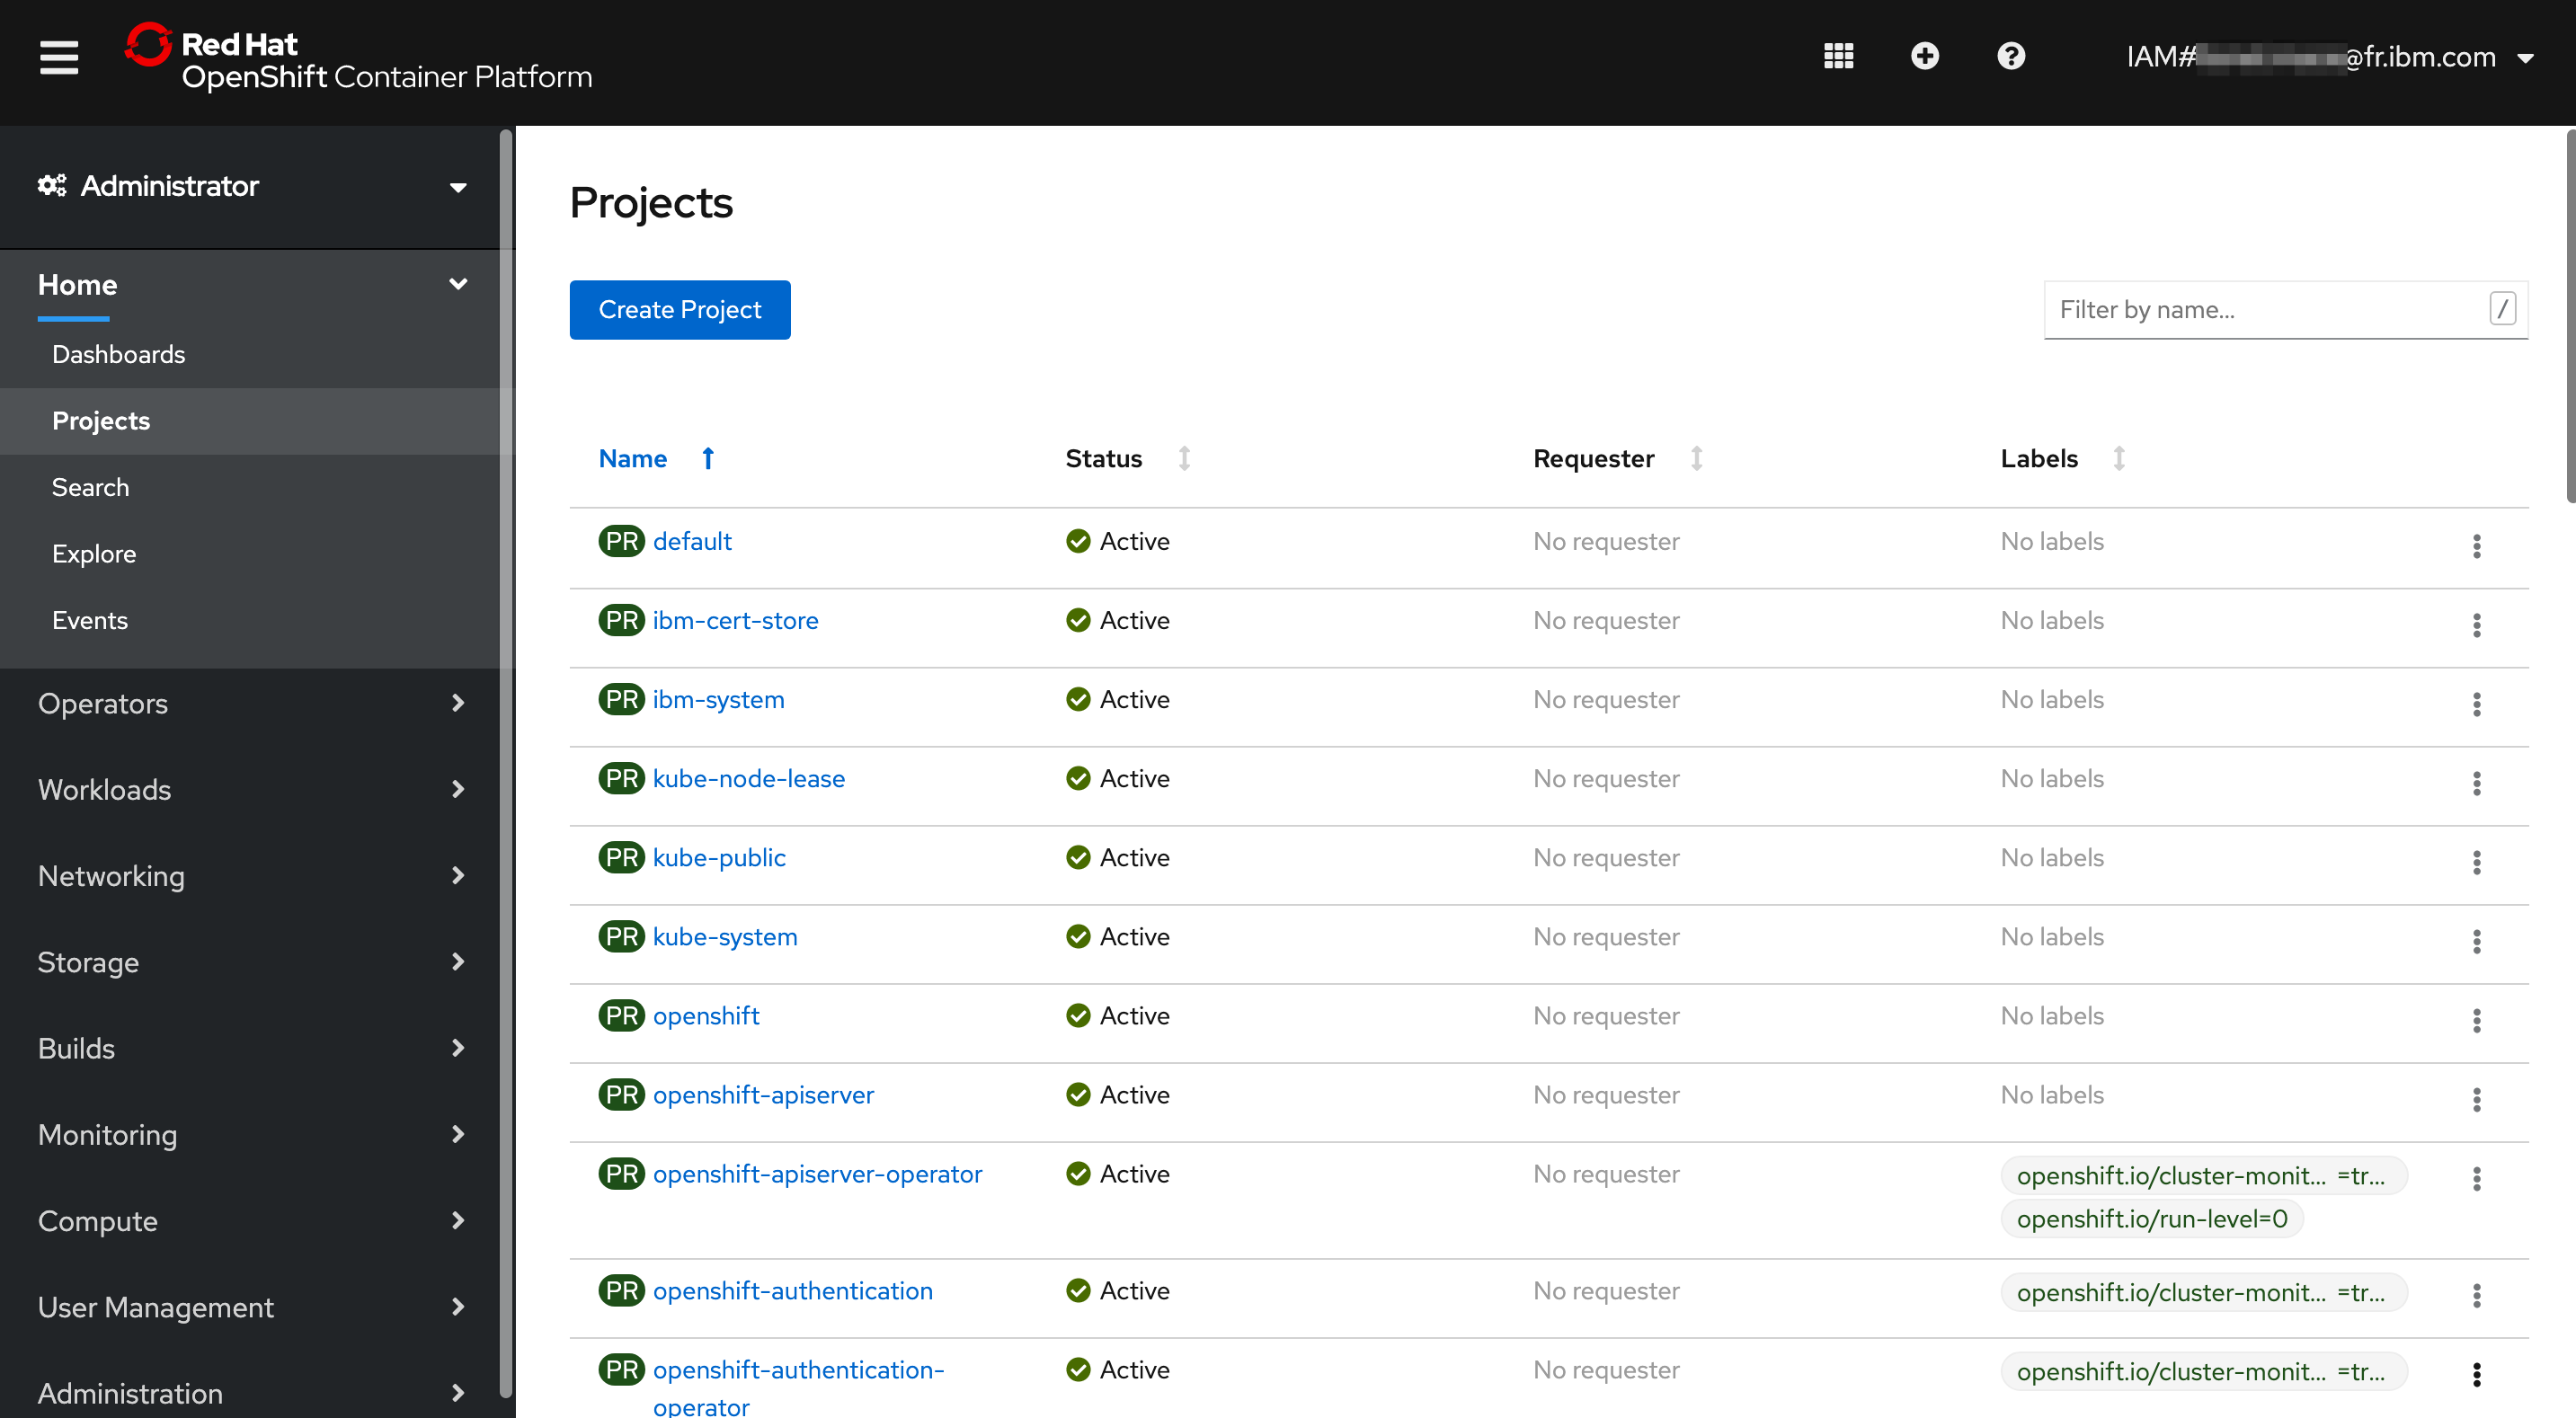
Create a new project by selecting Create Project. Call the project "example-health".
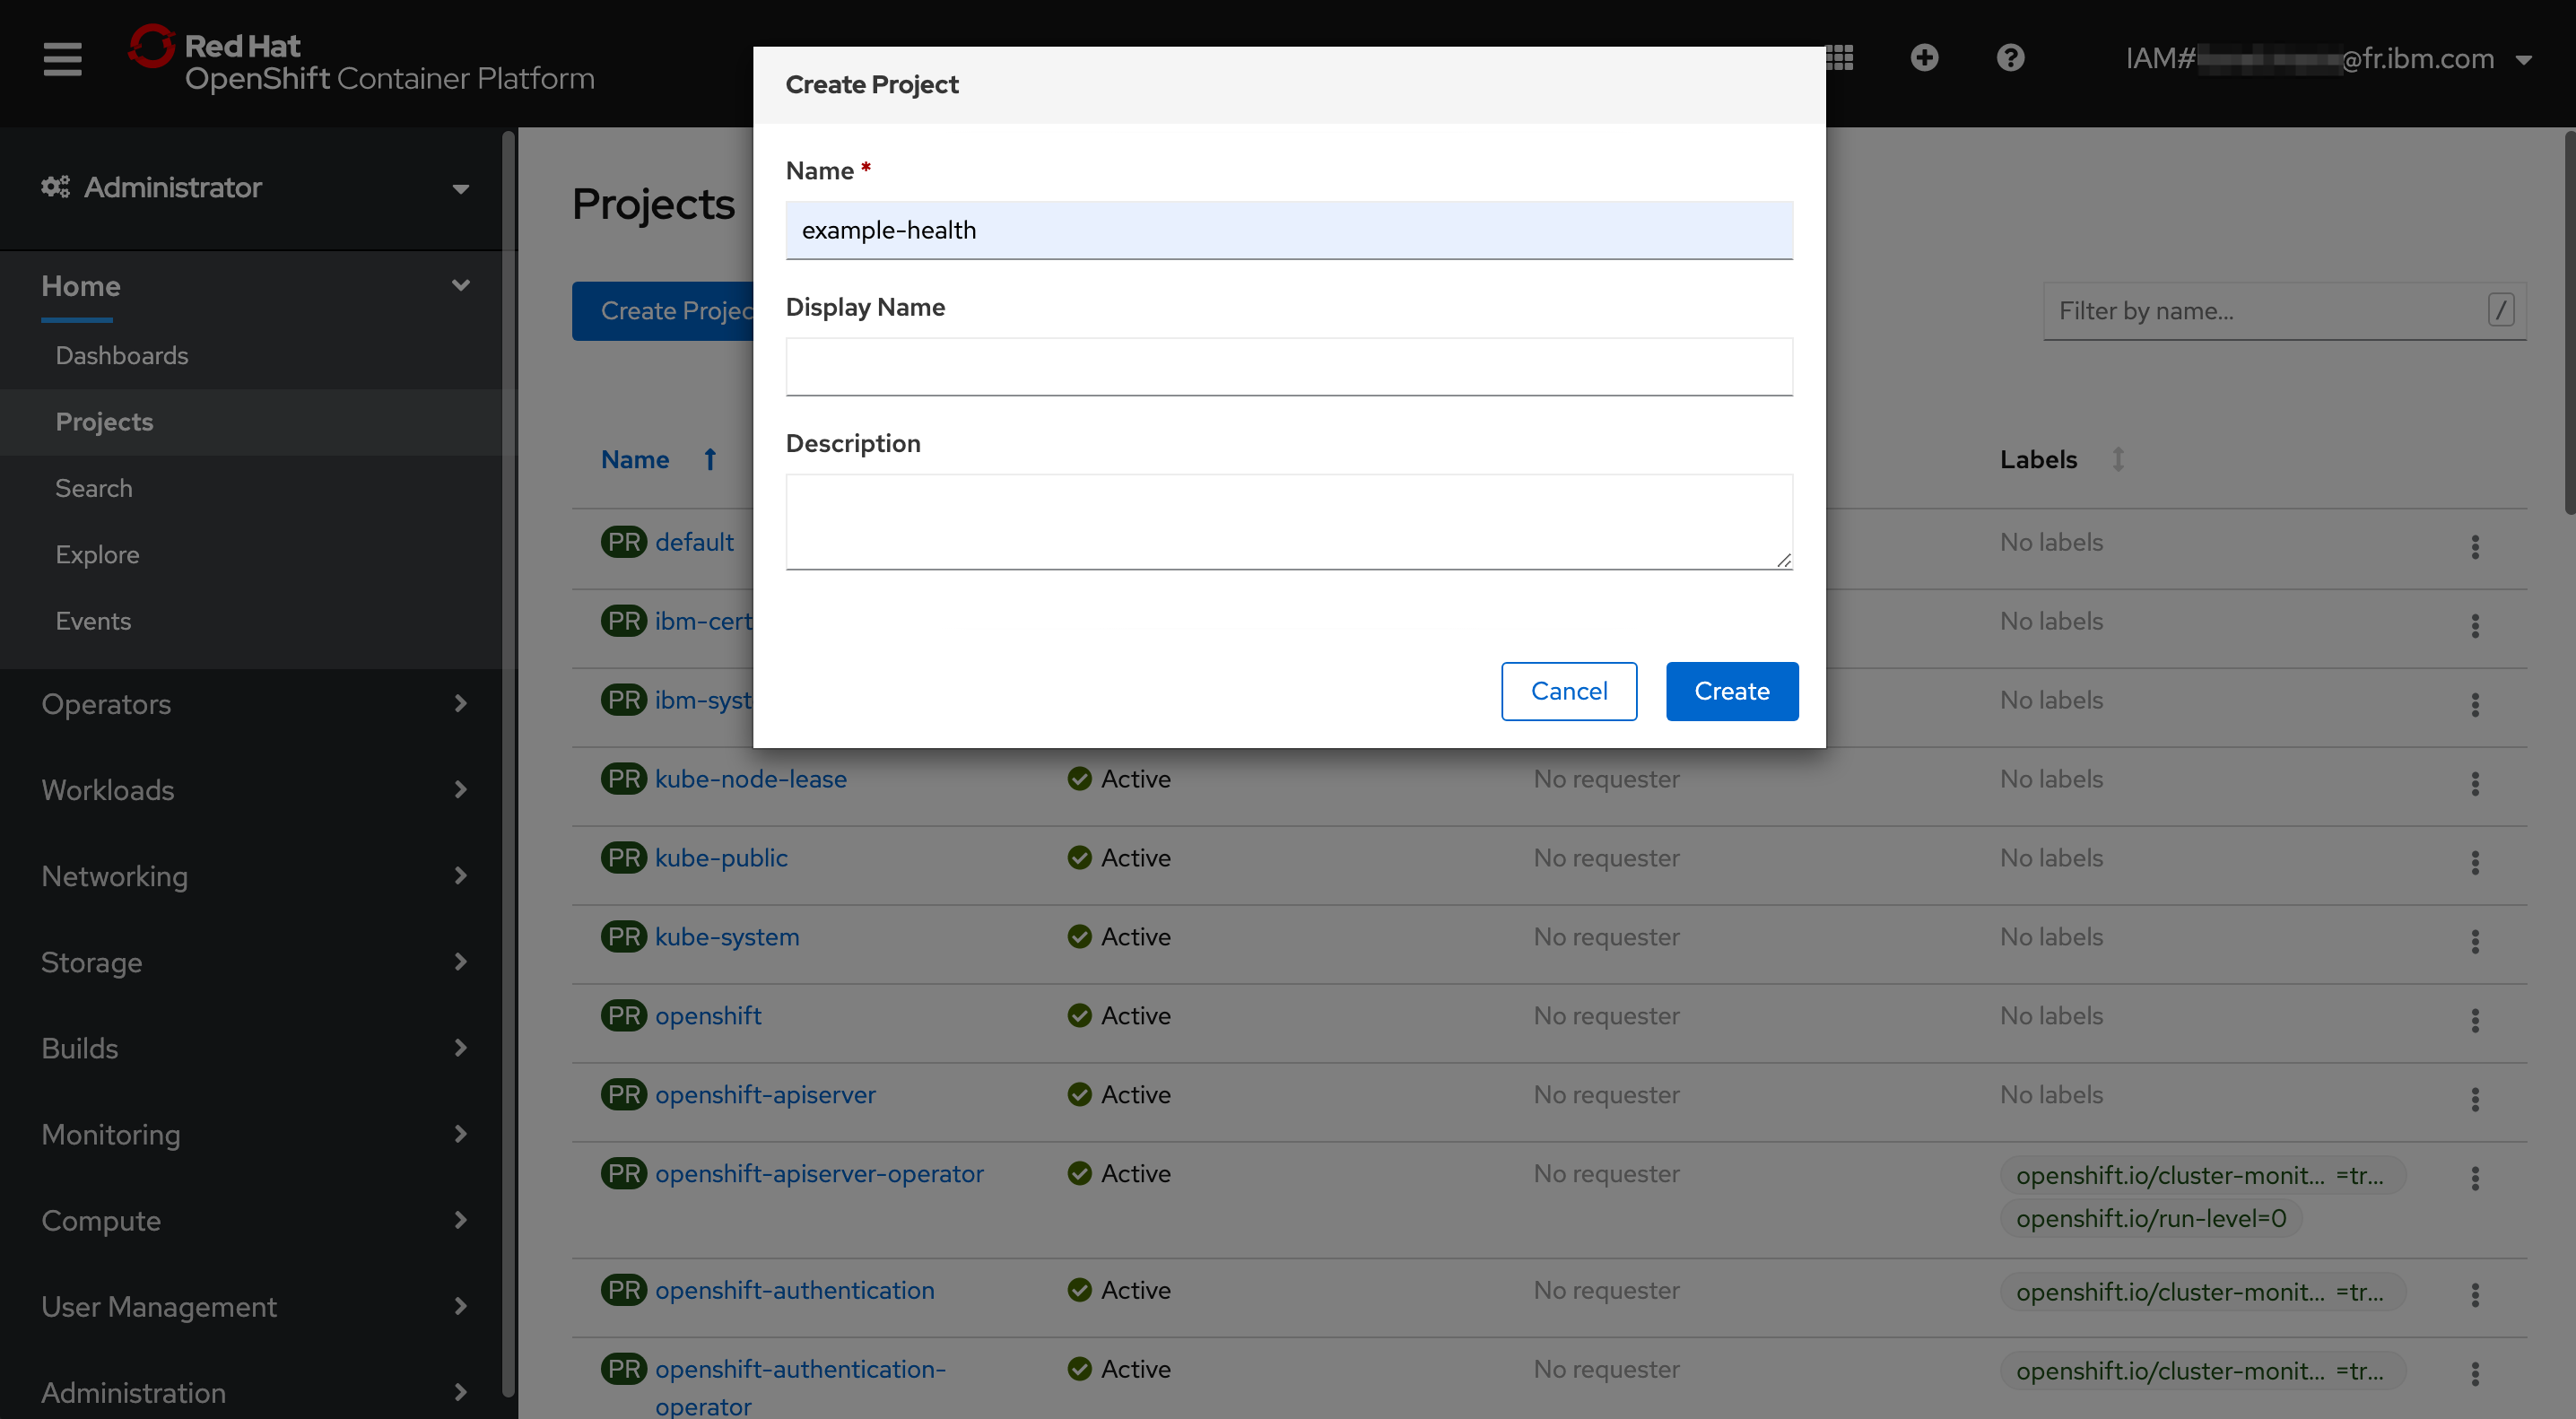
You should see a view that looks like this.
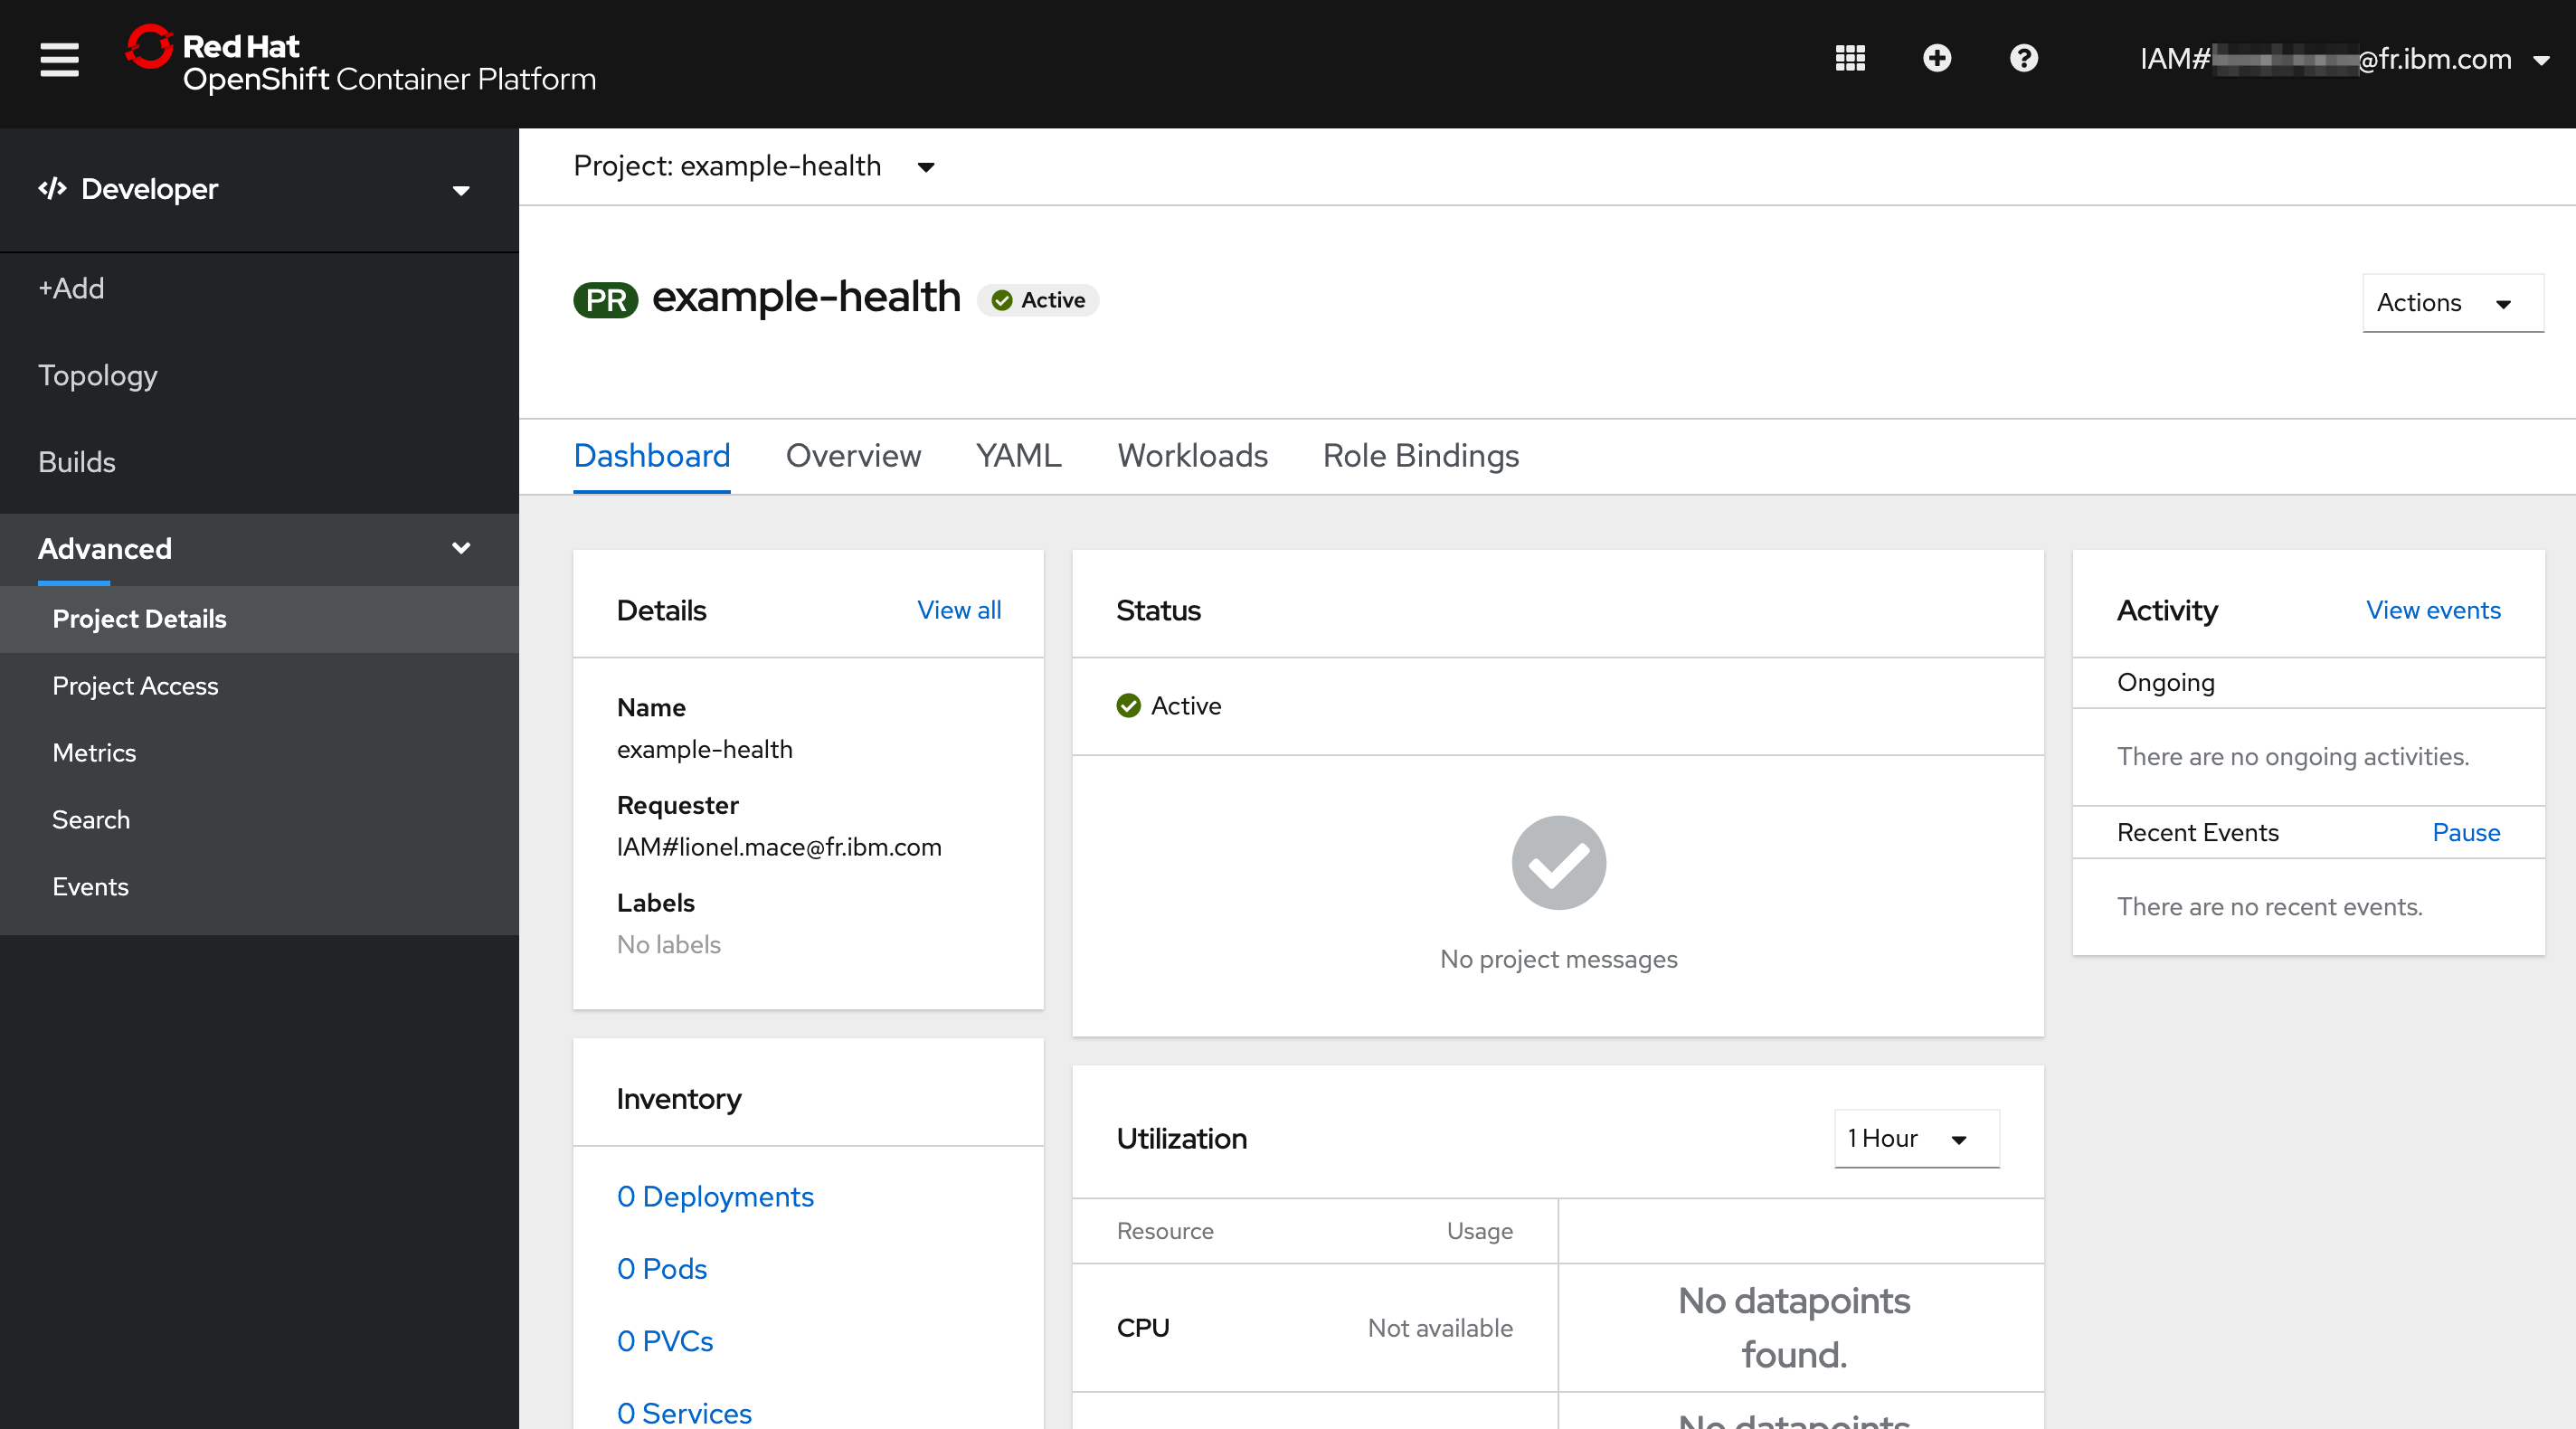
Switch from the Administrator to the Developer view. Make sure your project is selected.
Let's deploy the application by selecting From Git.
Enter the repository
https://github.com/svennam92/node-s2i-openshiftin the Git Repo URL field.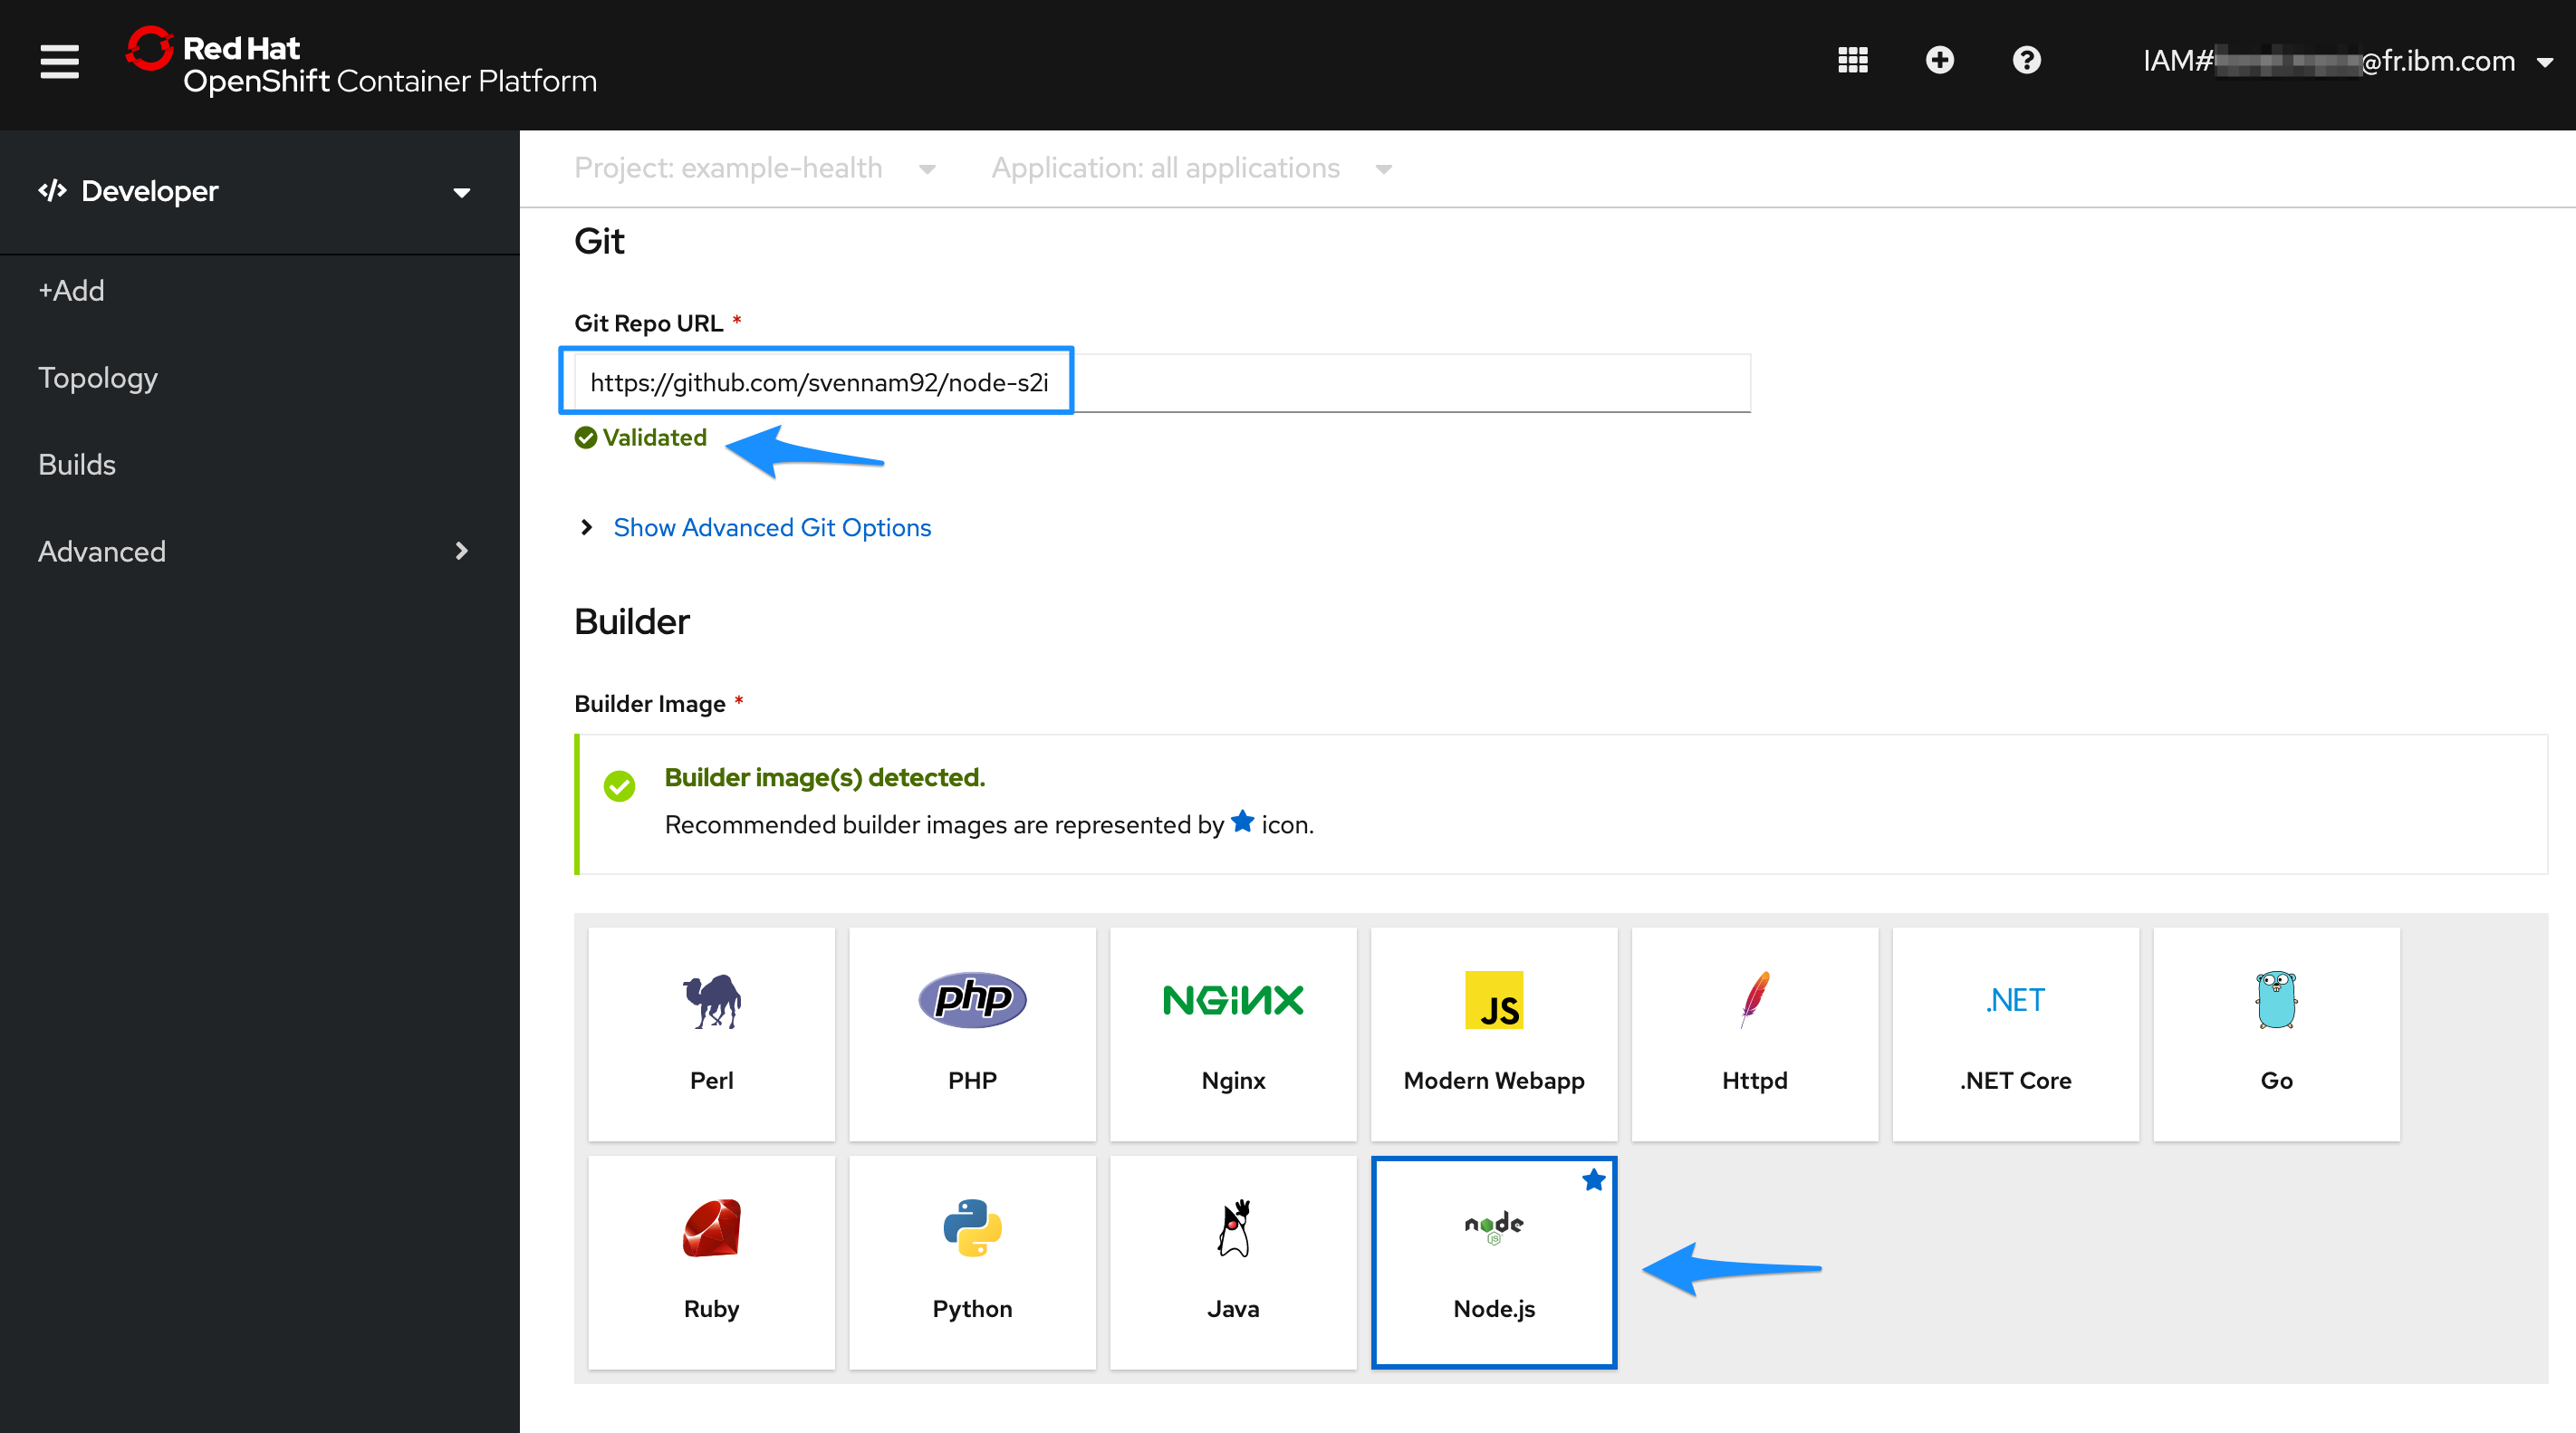
Note that the builder image automatically detected the language Node.js.
Name your application such as
patient-ui. Keep the default options and click Create at the bottom of the window to build and deploy the application.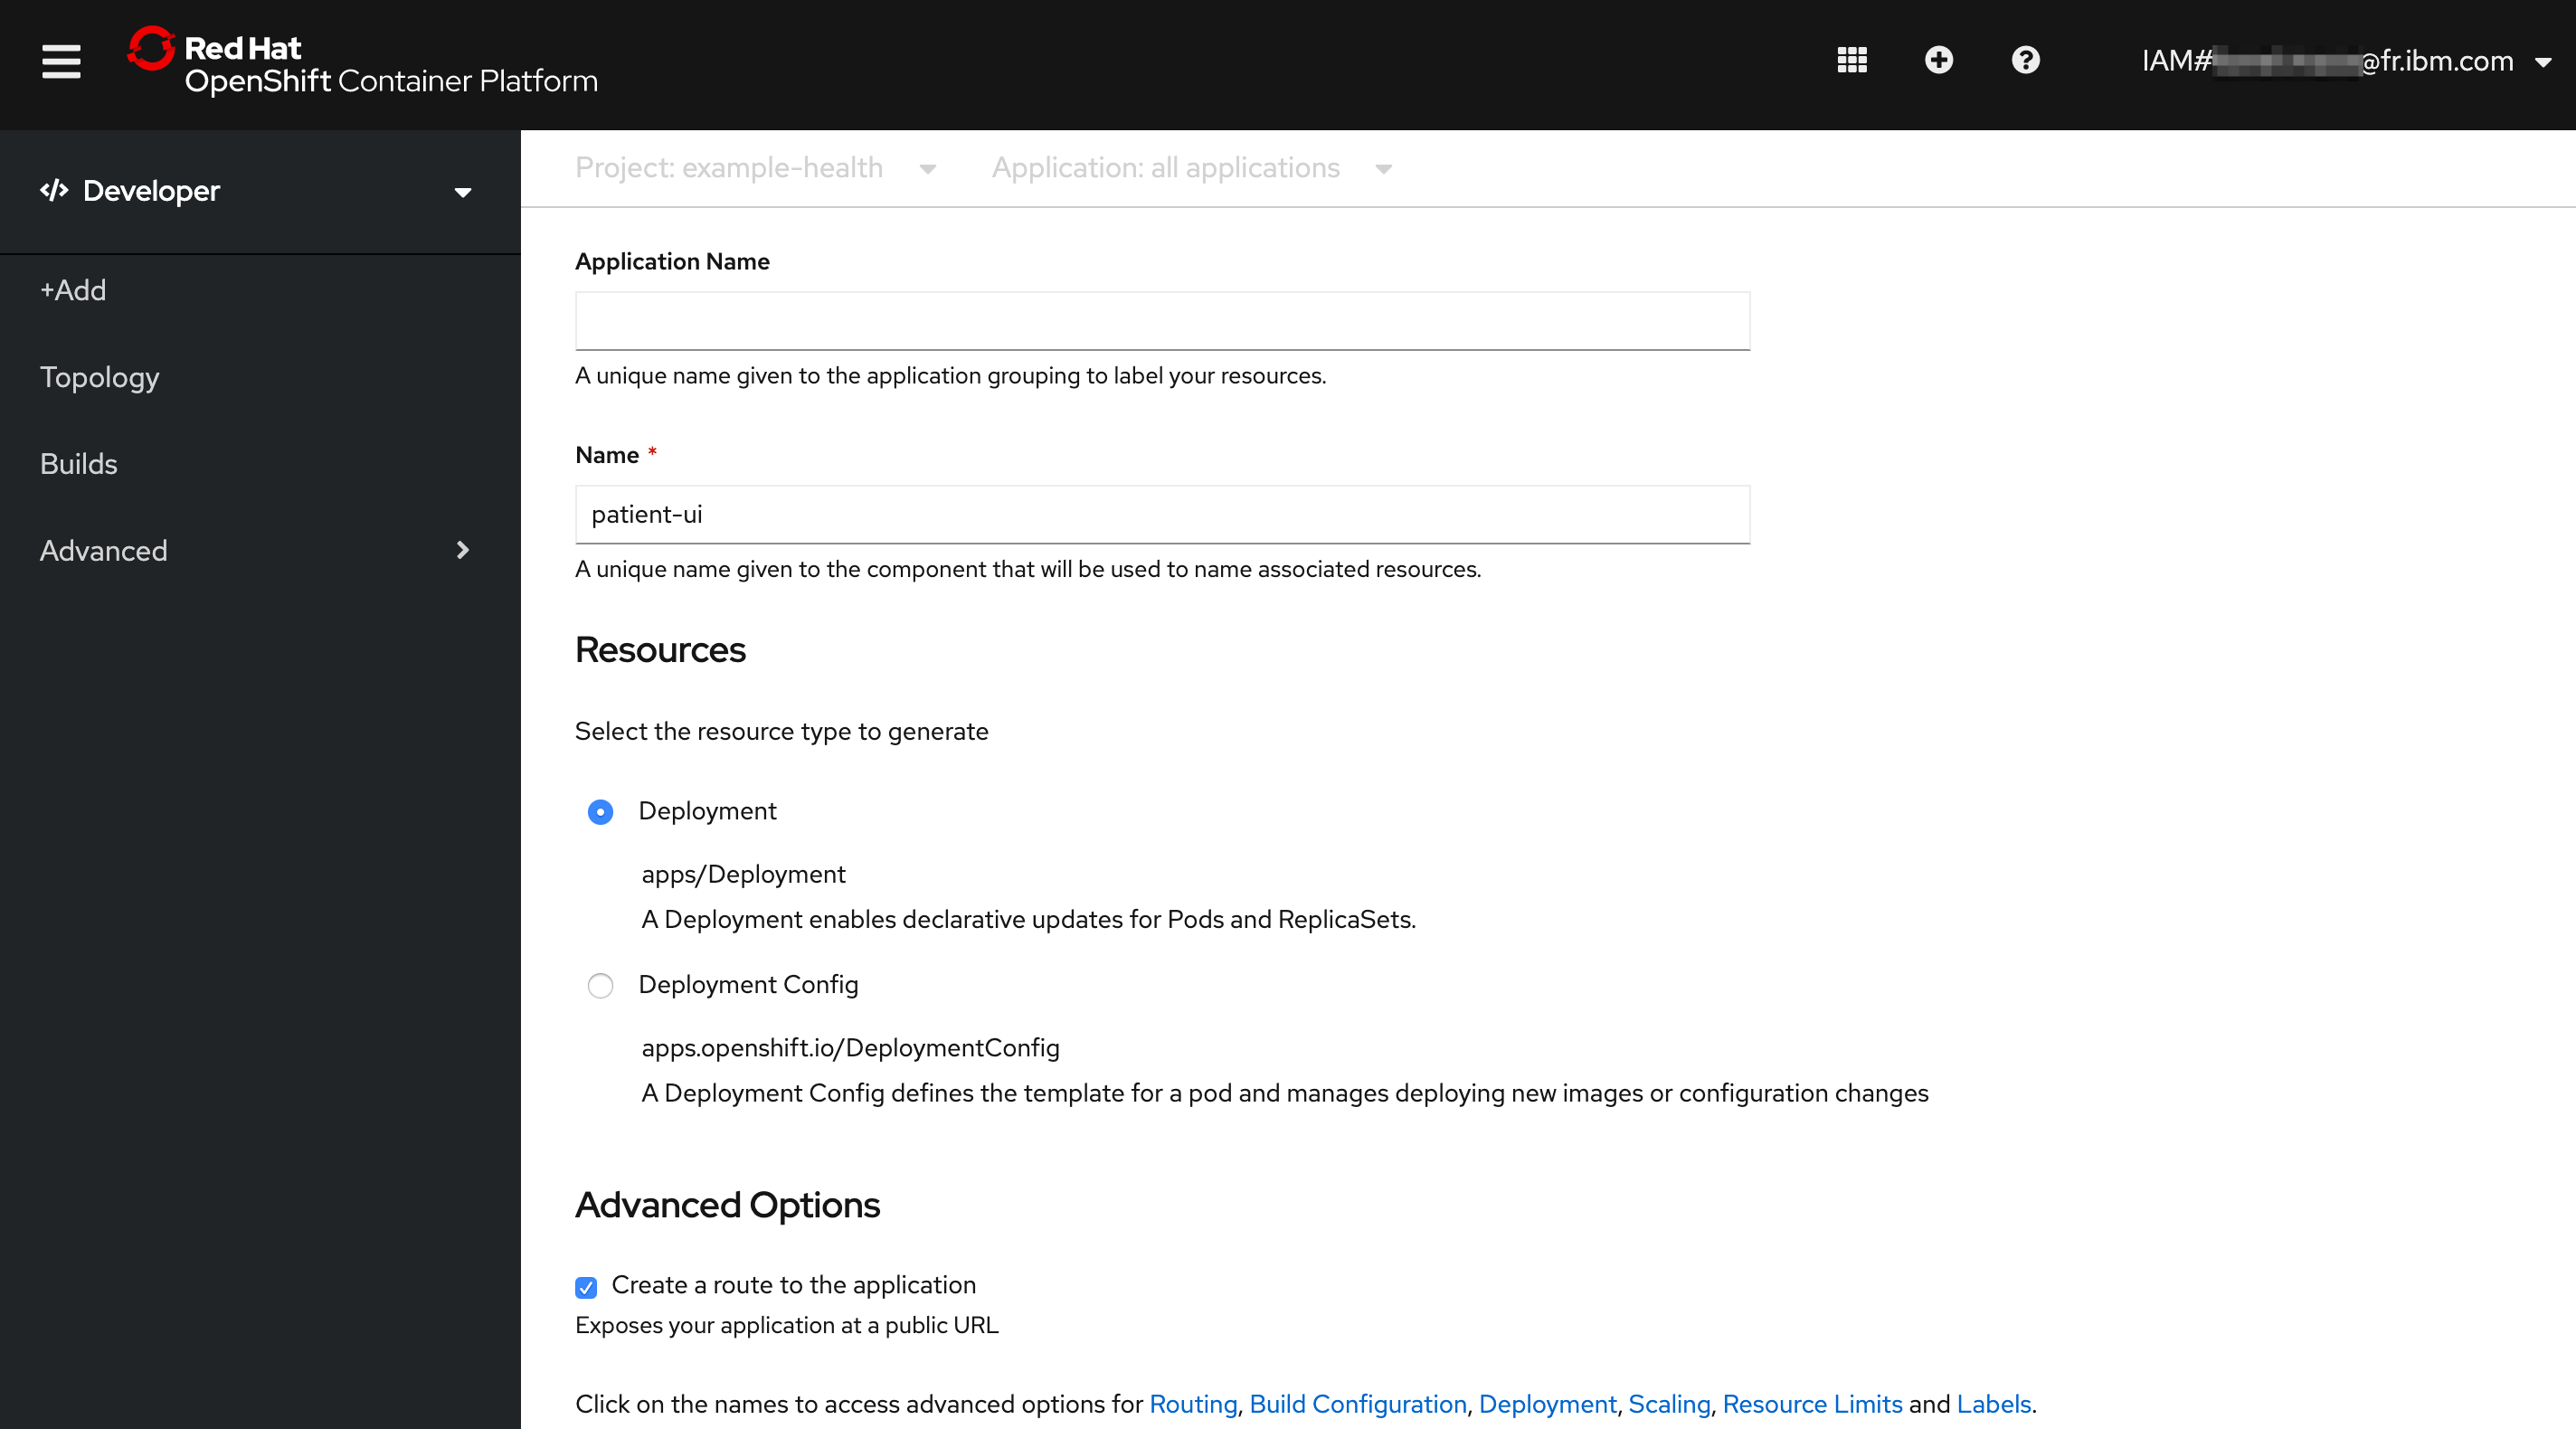
Your application is being deployed.
View the Example Health
You should see the app you just deployed.
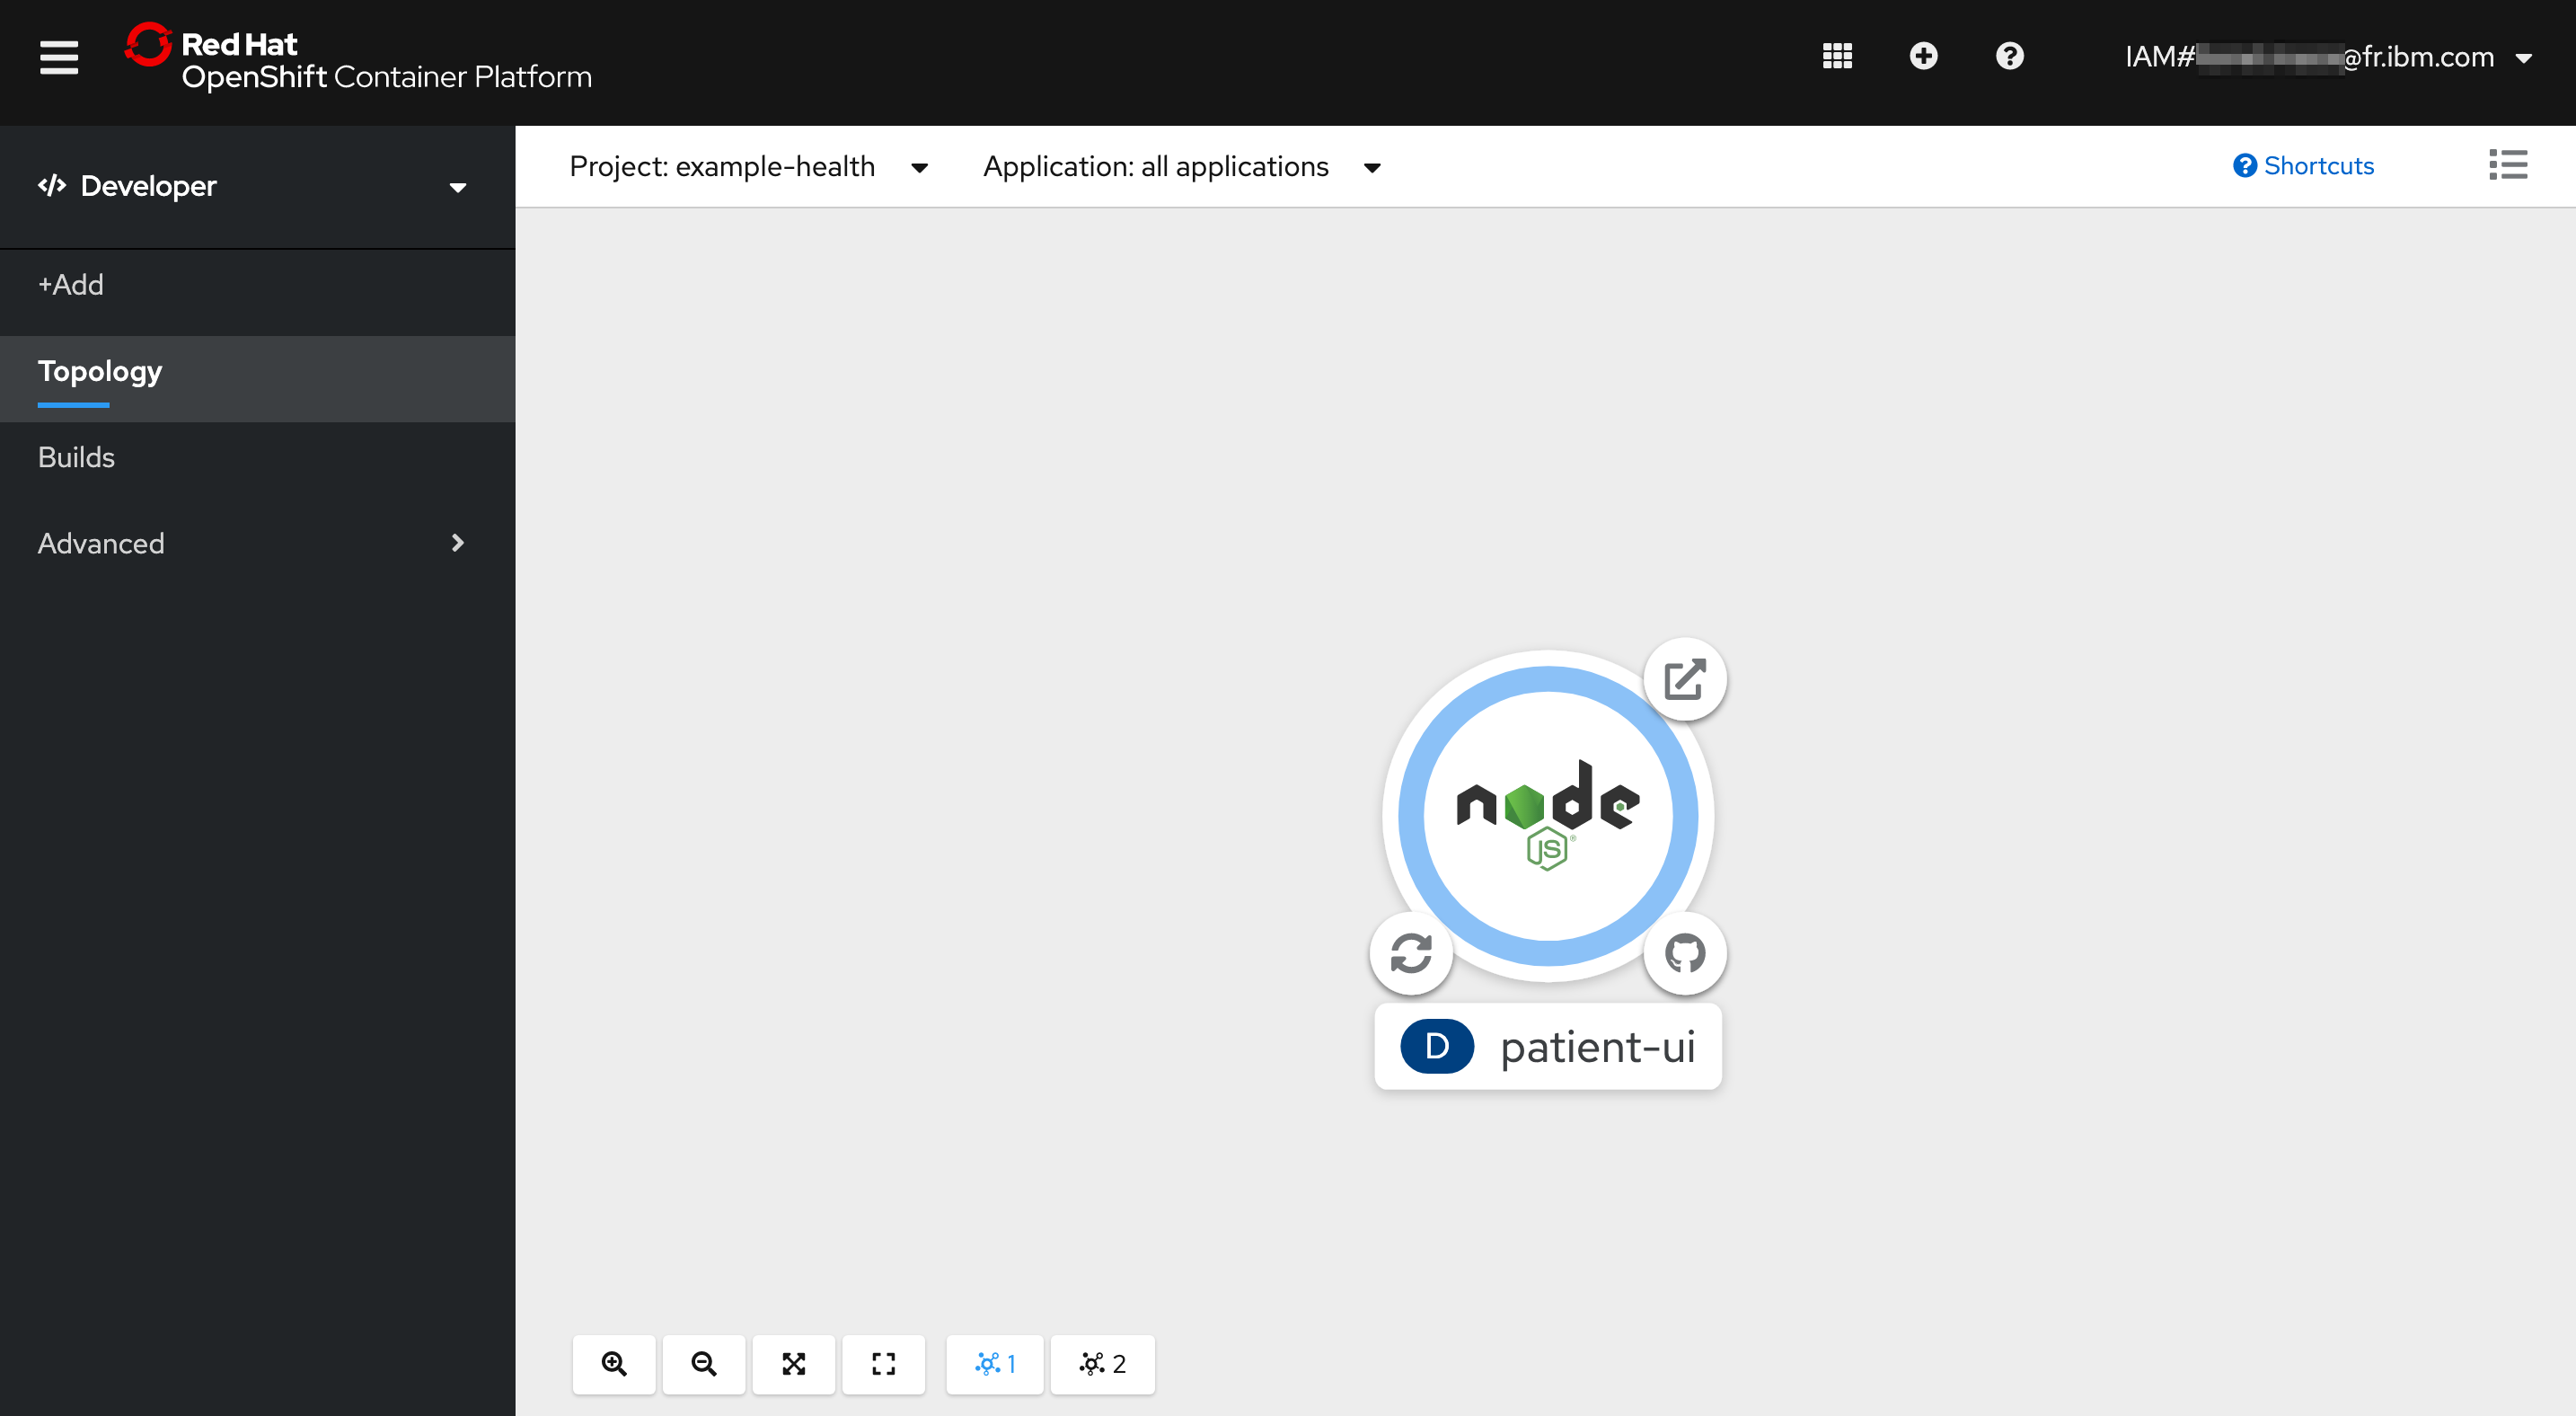
Select the app. You should see a single Deployment where you can see your Pods, Builds, Services and Routes.
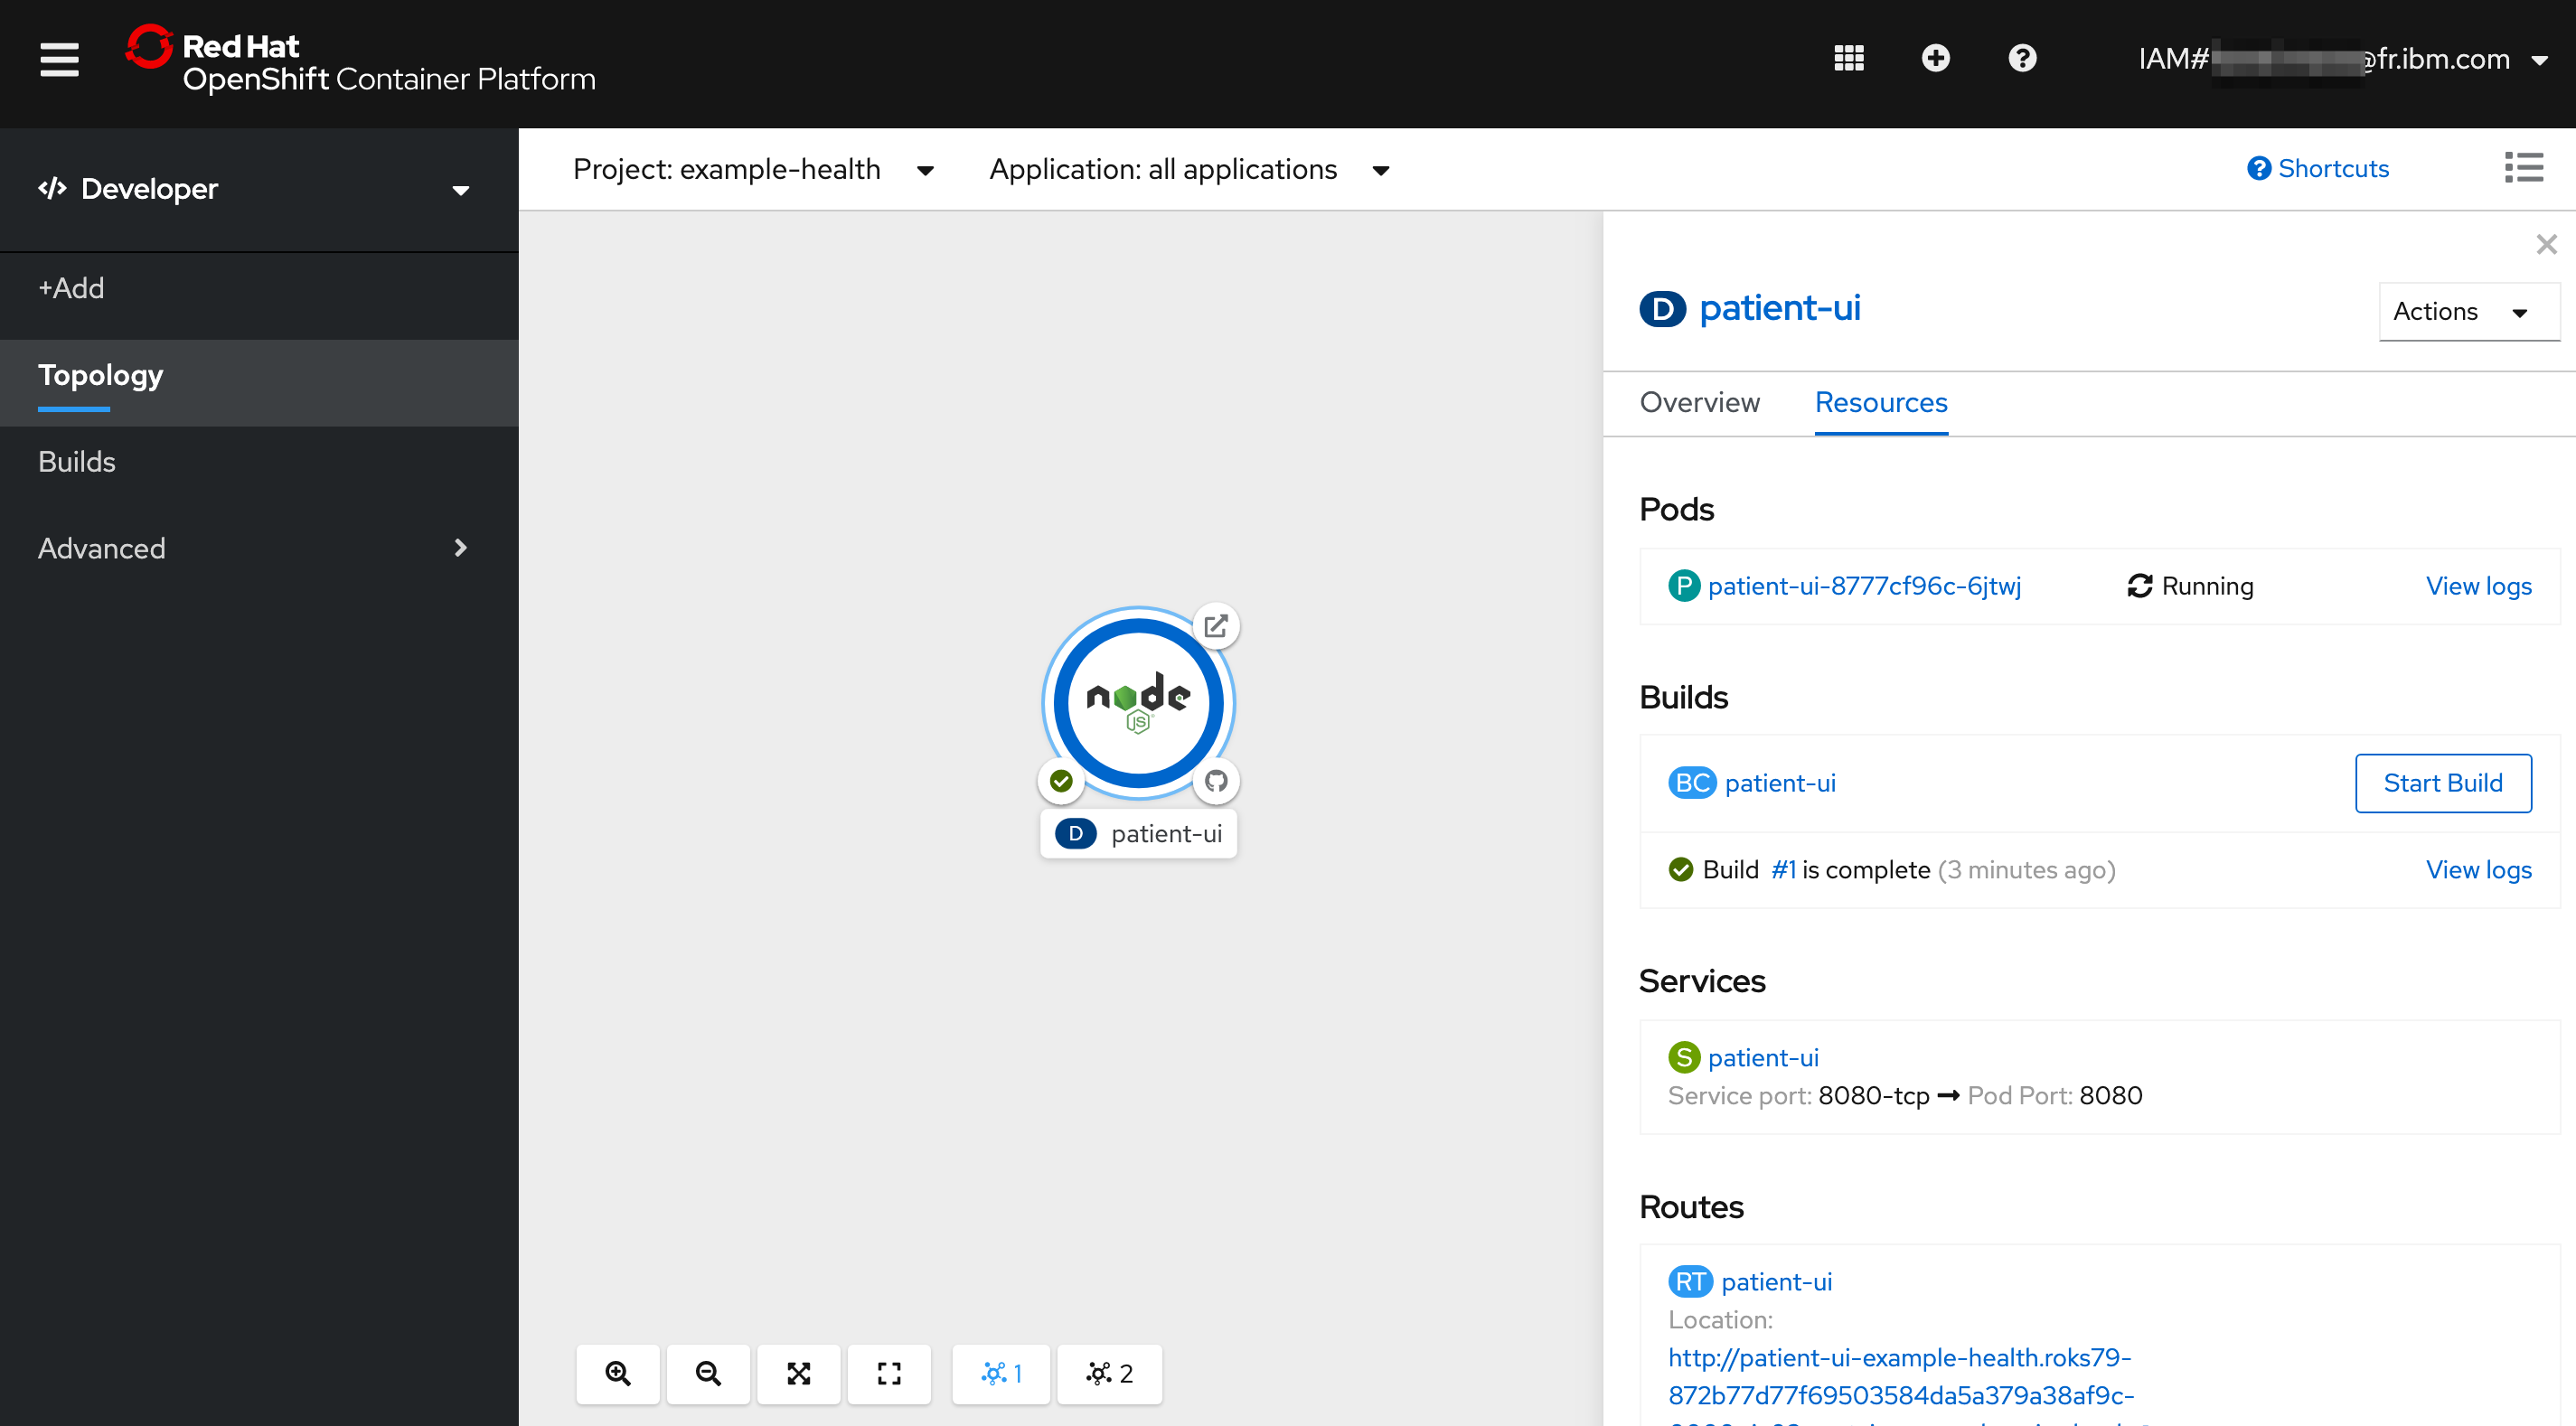
- Pods: Your Node.js application containers
- Builds: The auto-generated build that created a Docker image from your Node.js source code, deployed it to the OpenShift container registry, and kicked off your deployment config.
- Services: Tells OpenShift how to access your Pods by grouping them together as a service and defining the port to listen to
- Routes: Exposes your services to the outside world using the LoadBalancer provided by the IBM Cloud network
Click on View Logs next to your completed Build. This shows you the process that OpenShift took to install the dependencies for your Node.js application and build/push a Docker image.
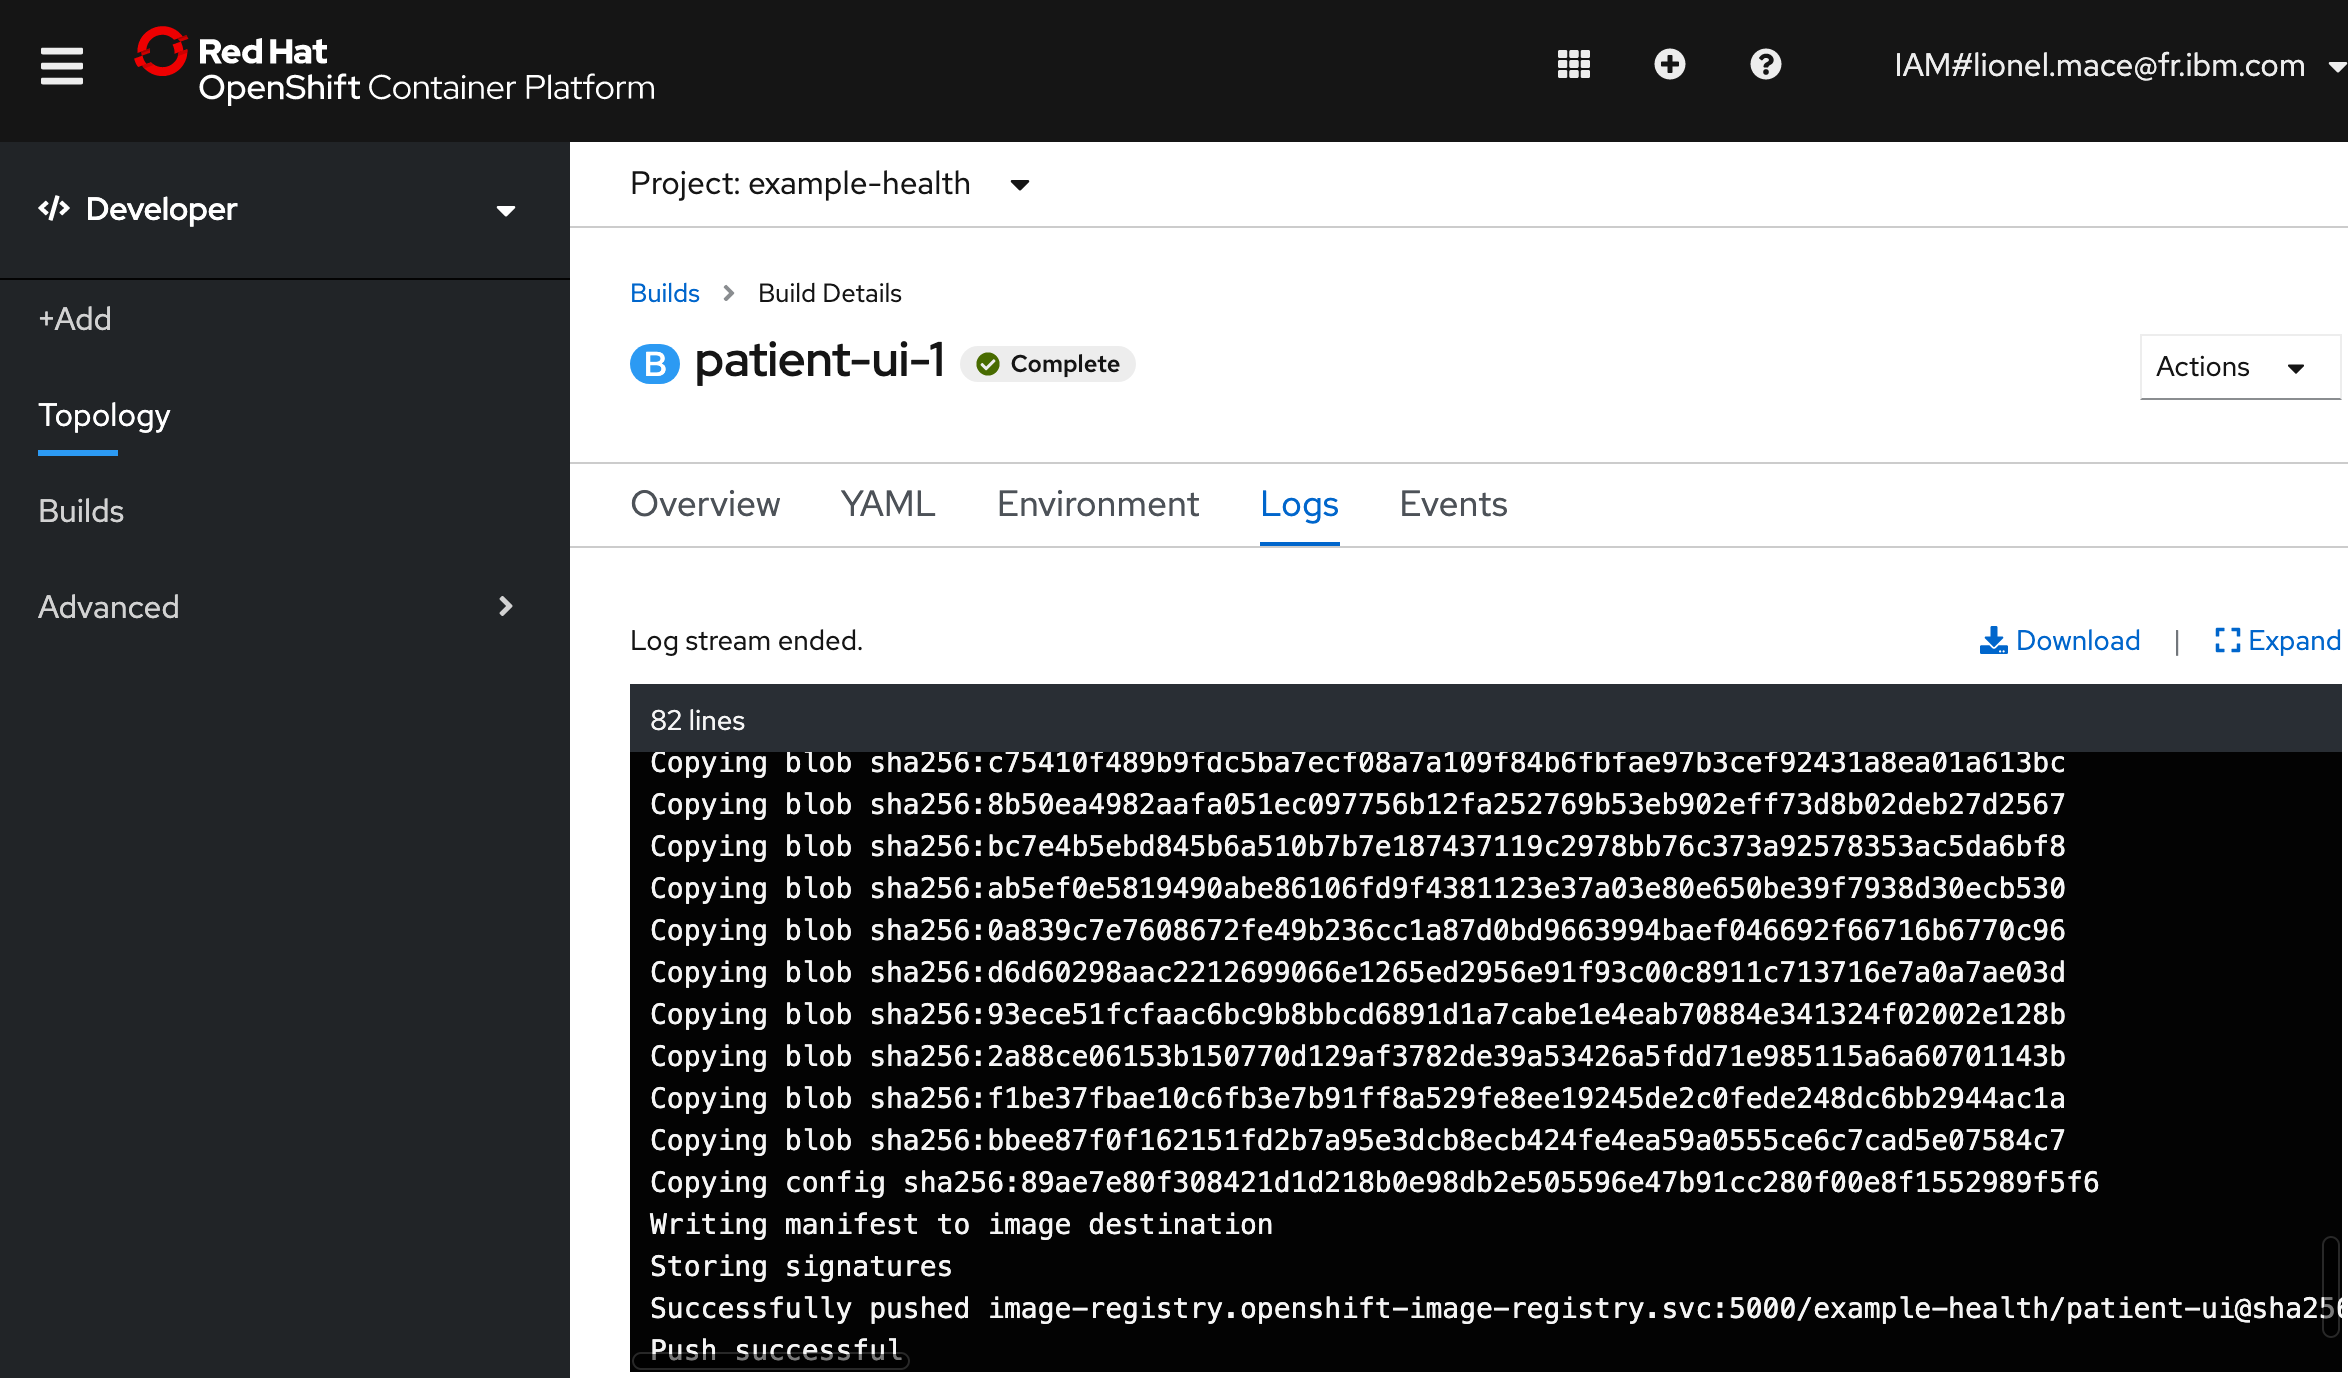
You should see that looks like this:
 Successfully pushed image-registry.openshift-image-registry.svc:5000/example-health/patient-ui@sha256:f9385e010144f36353a74d16b6af10a028c12d005ab4fc0b1437137f6bd9e20a
 Push successful
Click back to the Topology and select your app again. Click on the url under Routes to open your application with the URL.
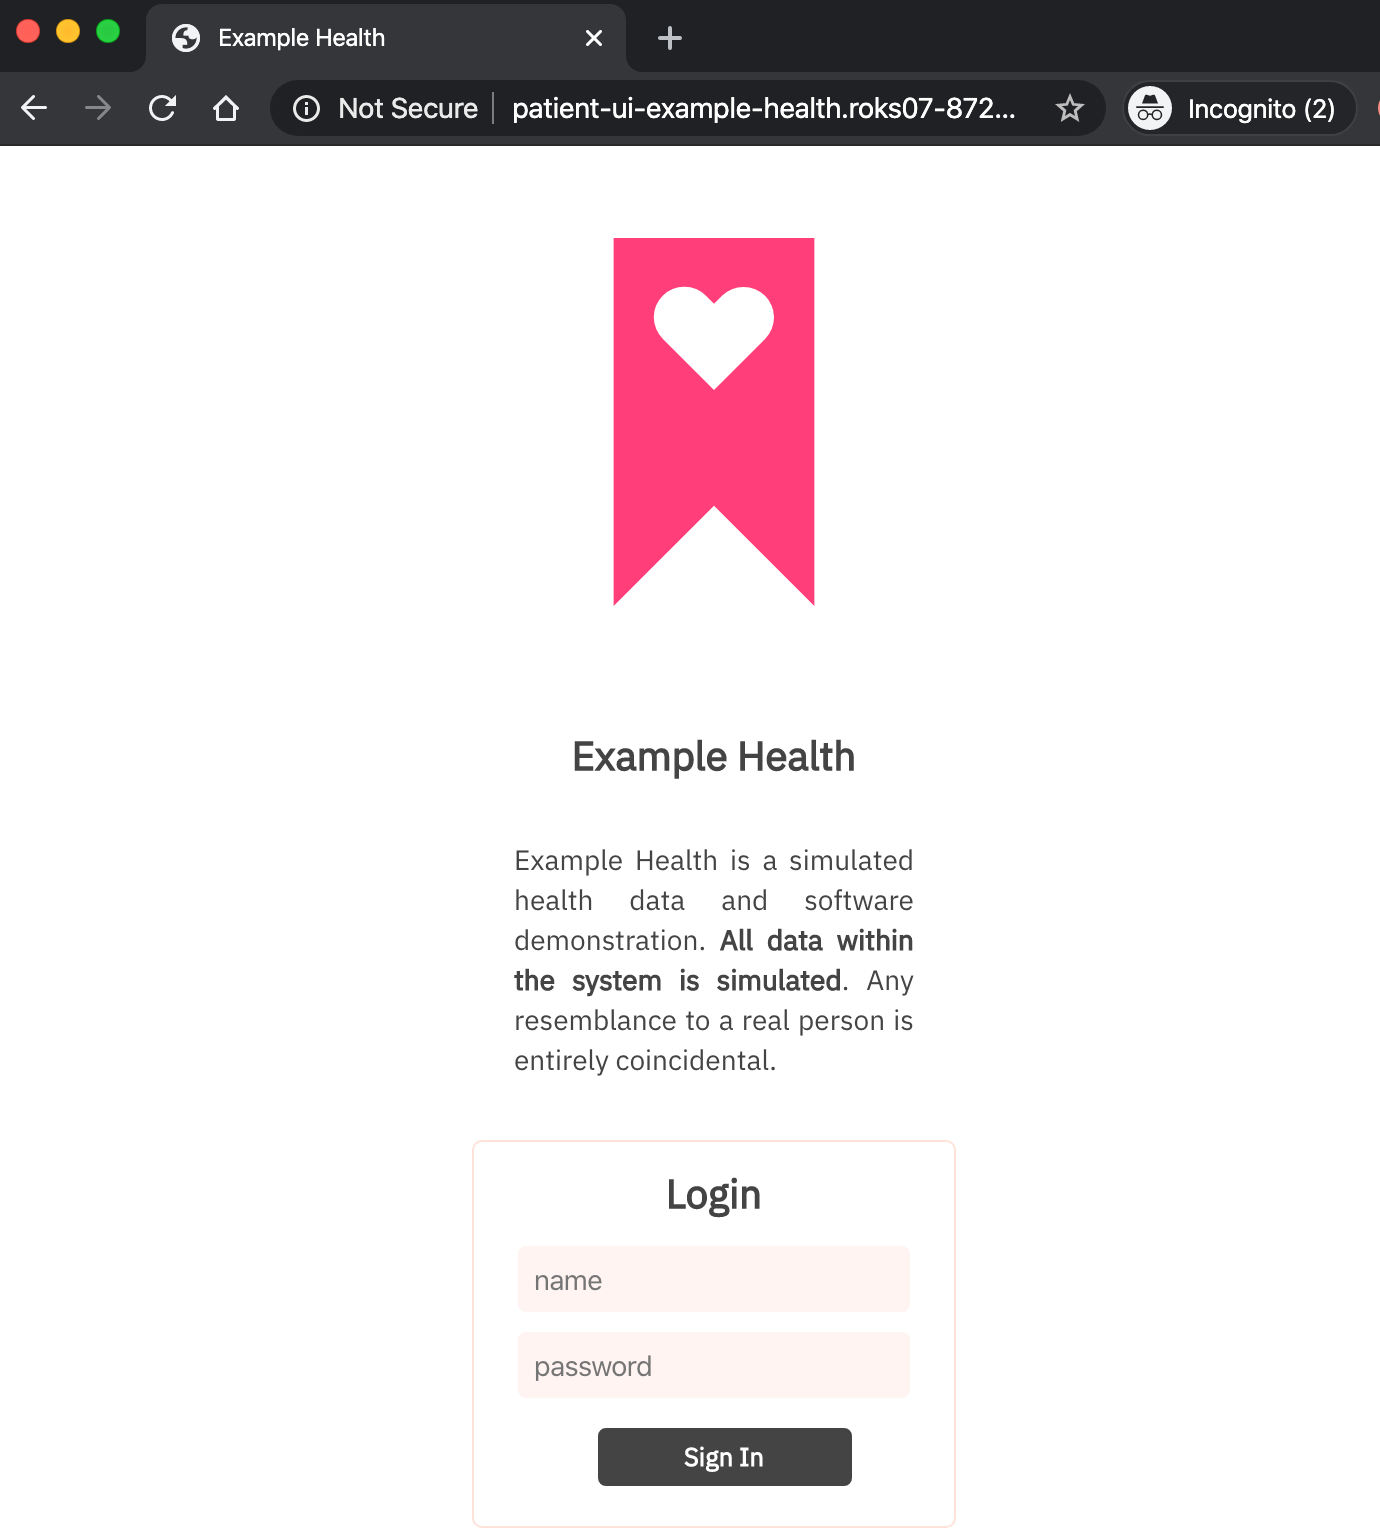
You can enter any strings for username and password, for instance
test:testbecause the app is running in demo mode.
Congrats! You've deployed a Node.js app to OpenShift Container Platform.
You've completed the first exercise! Let's recap -- in this exercise, you:
- Deployed the "Example Health" Node.js application directly from GitHub into your cluster
- Used the "Source to Image" strategy provided by OpenShift
- Deployed an end-to-end development pipeline
- New commits that happen in GitHub can be pushed to your cluster with a simple (re)build
- Looked at your app in the OpenShift console.
What's Next?
Let's dive into some Day 1 OpenShift Operations tasks, starting with Monitoring and Logging